Laminate flooring is a popular choice for homeowners and property managers because it is affordable, easy to install, and requires minimal maintenance. However, one challenge that comes with installing laminate flooring is finishing the edges. The unfinished edges of laminate flooring can be unsightly and can also lead to damage over time. This is where laminate flooring edge finishing techniques come into play.
There are several methods for finishing the edges of laminate flooring, including using beading, skirting, transition strips, and other types of edge trims. Each technique has its own advantages and disadvantages, and the choice of technique will depend on several factors, including the type of laminate flooring being used, the size and shape of the room, and personal preferences. Proper preparation is also crucial to ensure a smooth and successful edge finishing process.
Key Takeaways
- There are multiple techniques for finishing the edges of laminate flooring, including using beading, skirting, and transition strips.
- Proper preparation is crucial to ensure a smooth and successful edge finishing process.
- Choosing the right technique will depend on several factors, including the type of laminate flooring being used, the size and shape of the room, and personal preferences.
Basics of Laminate Flooring Edge Finishing
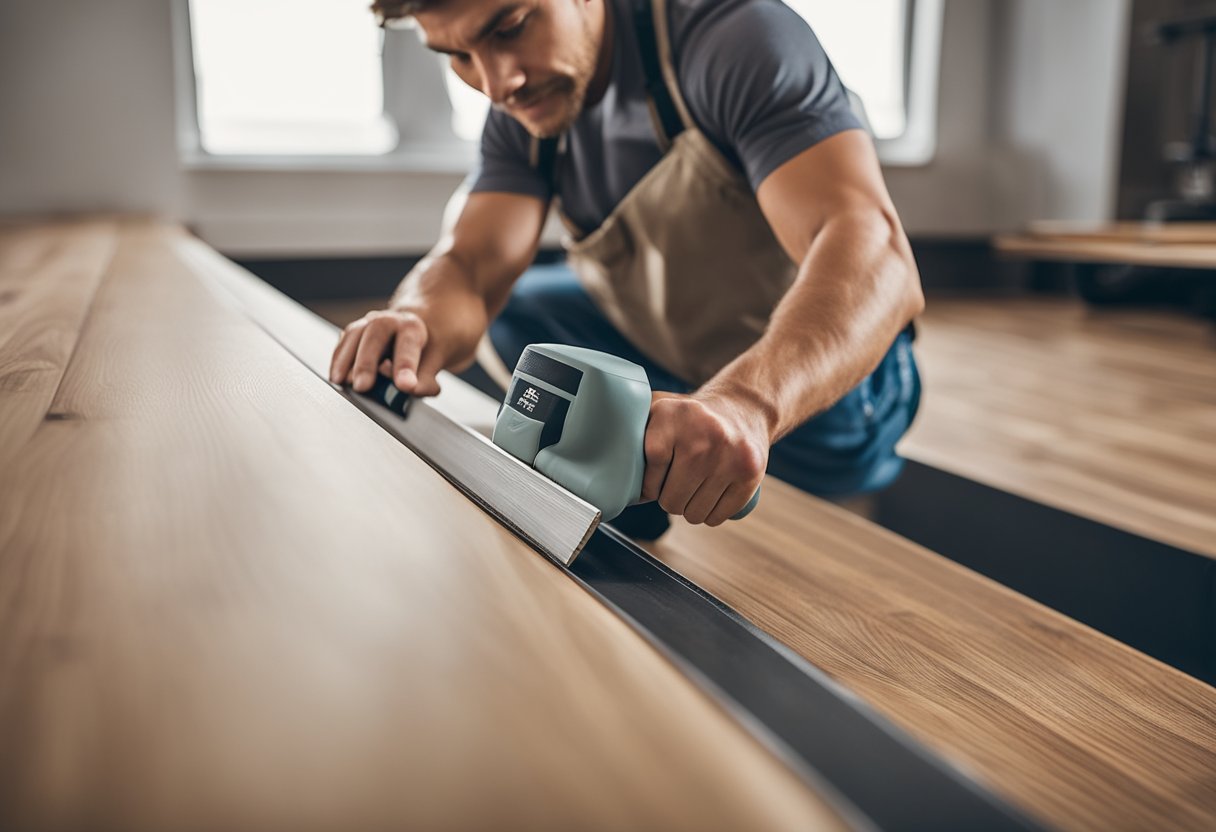
Laminate flooring is a popular flooring option for many homeowners due to its durability, affordability, and ease of installation. However, one aspect that can be challenging for DIY enthusiasts is finishing the edges of the laminate flooring. In this section, we will discuss the basics of laminate flooring edge finishing.
Understanding Edge Types
Before starting the edge finishing process, it is important to understand the different types of edges that laminate flooring can have. Laminate flooring can have either a square or a beveled edge. A square edge is a straight edge, while a beveled edge has a slight angle to it, creating a V-shaped groove between the planks. Beveled edges can give the flooring a more realistic wood-like appearance.
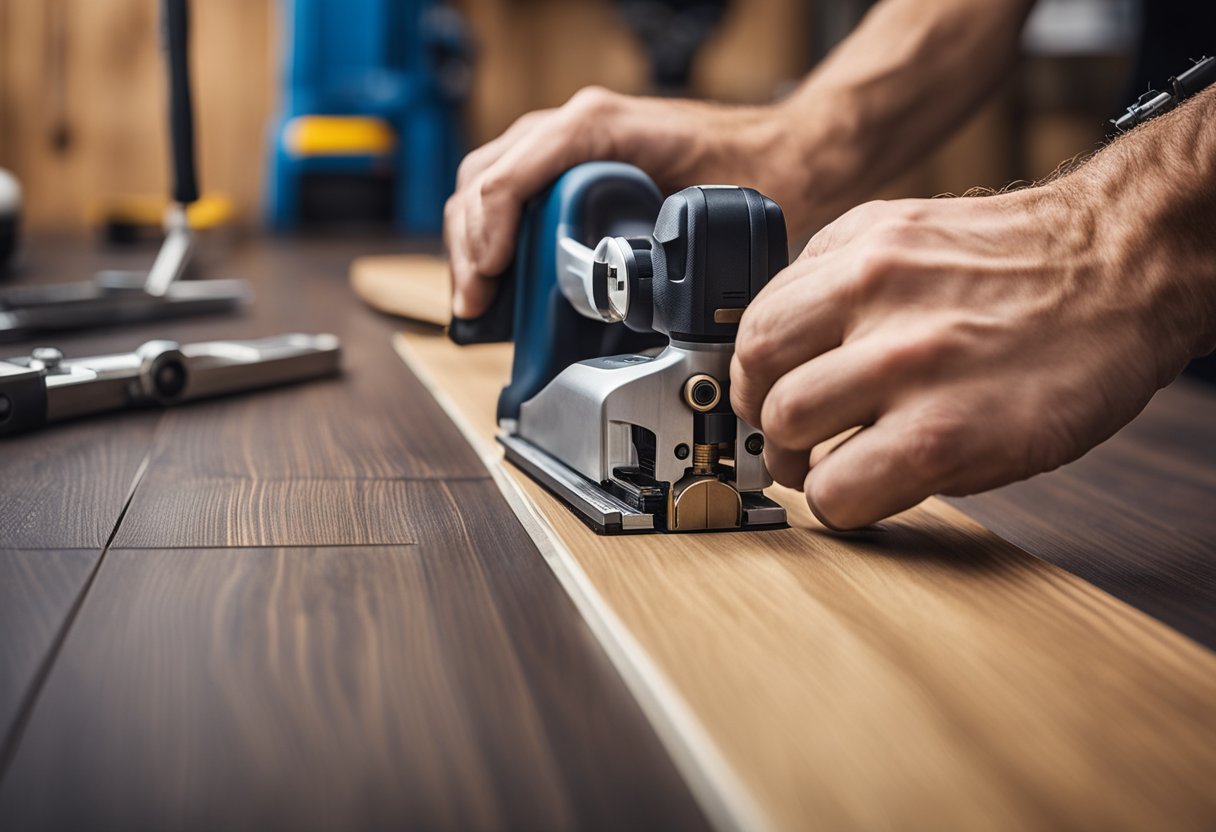
Tools Required for Edge Finishing
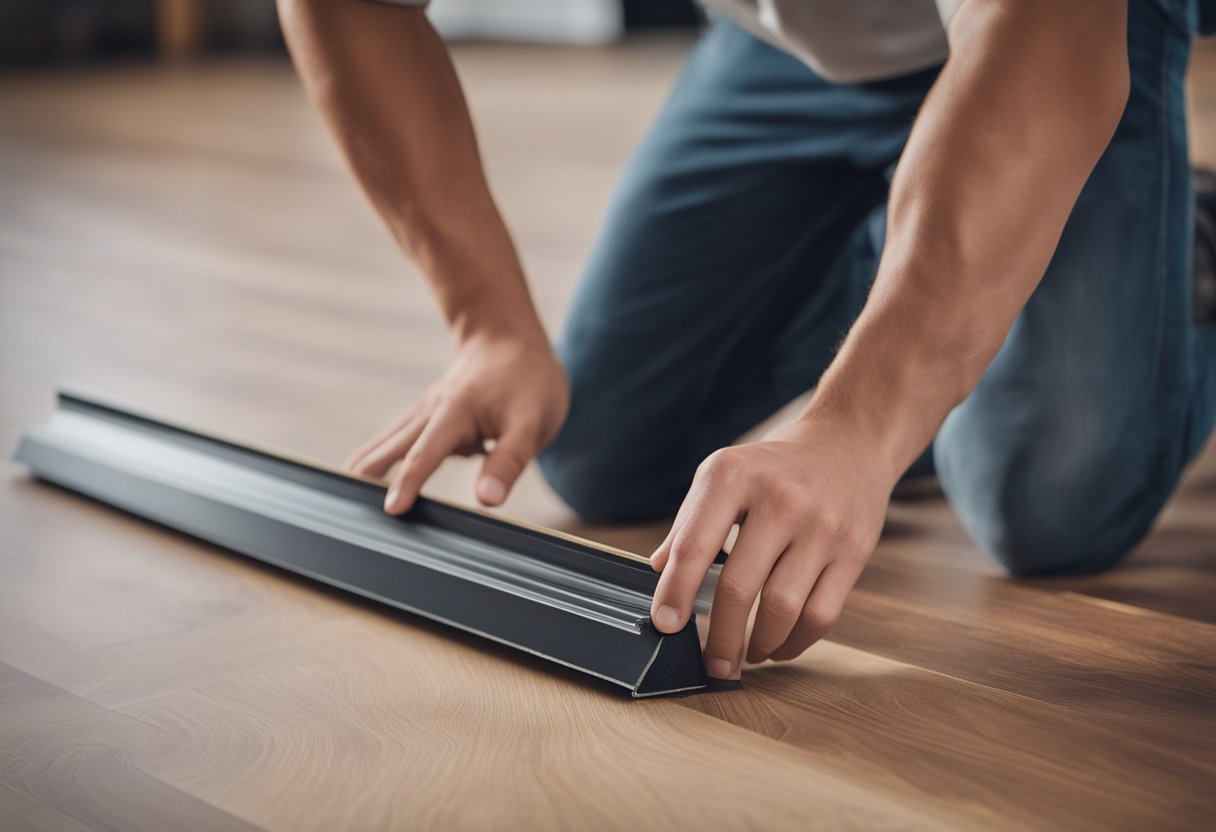
To finish the edges of the laminate flooring, several tools are required. These include a fine-toothed saw, a pencil, a damp cloth or sponge, beading or quarter-round strips, and transition strips. Beading or quarter-round strips are triangular or quarter-circular strips that are laid up to the skirting boards before gluing or nailing them. Transition strips are used to cover the expansion gaps and unfinished ends in laminate flooring and provide a seamless transition between different floorings.
In addition, a miter saw or coping saw may be required to cut the beading or quarter-round strips to the correct length and angle. A coping saw can be used to cut intricate shapes or curves in the beading or quarter-round strips.
Overall, finishing the edges of laminate flooring can be a challenging task, but with the right tools and knowledge, it can be accomplished by DIY enthusiasts.
Preparation for Edge Finishing
Surface Cleaning
Before starting the edge finishing process, it is important to ensure that the surface of the laminate flooring is clean and free from any debris. Any dirt, dust, or other particles can prevent the edge finishing materials from adhering properly, resulting in an uneven finish.
To clean the surface, use a soft-bristled broom or a vacuum cleaner with a soft brush attachment to remove any loose debris. Then, wipe the surface with a damp cloth or sponge to remove any remaining dirt or dust. Allow the surface to dry completely before proceeding with the edge finishing process.
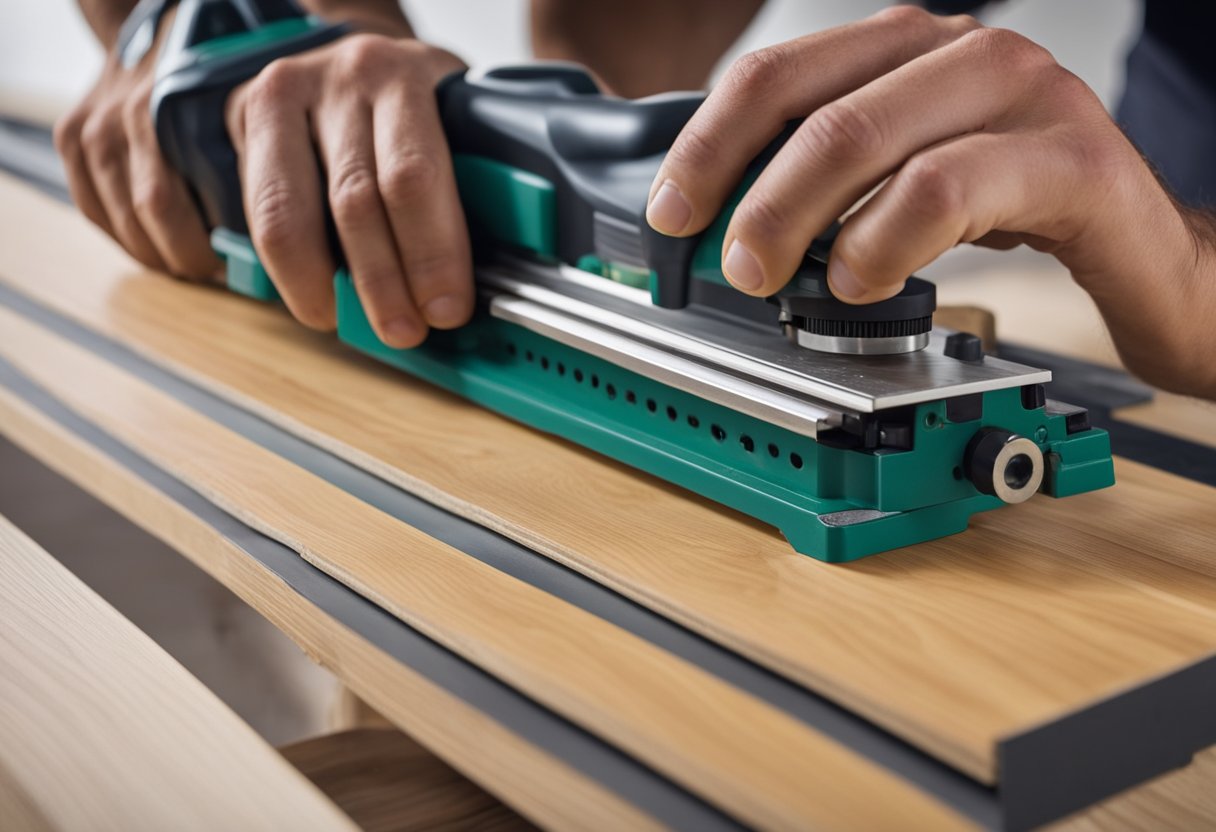
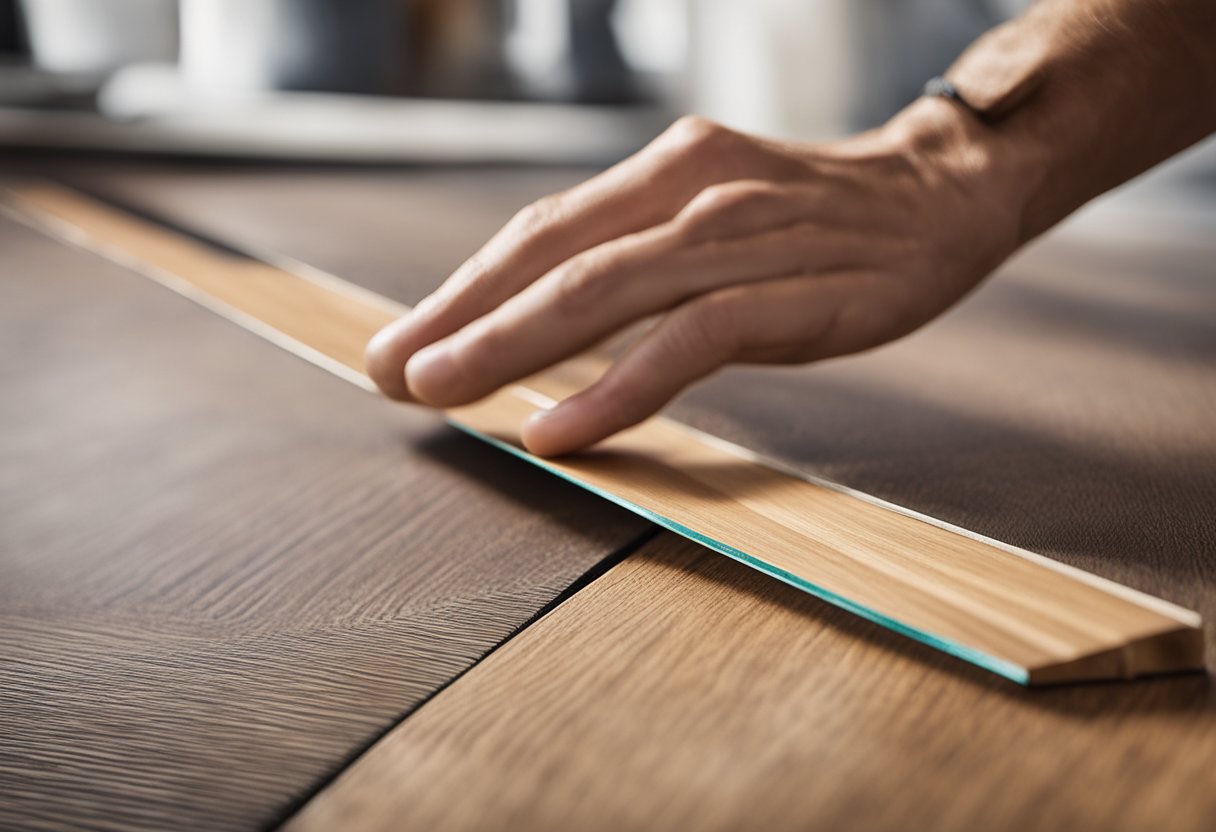
Measuring and Cutting
Accurate measurements are crucial to achieving a professional-looking edge finish. Before cutting the finishing materials, measure the length of the area to be finished and add a few extra inches to ensure a proper fit.
To cut the finishing materials, use a fine-toothed saw to make precise cuts. It is important to cut the materials at a 45-degree angle to ensure a seamless finish.
Once the finishing materials are cut, test fit them to ensure a proper fit before applying any adhesive. If the materials do not fit properly, make any necessary adjustments before proceeding with the adhesive application.
By following these preparation steps, one can achieve a clean and precise edge finish for their laminate flooring.
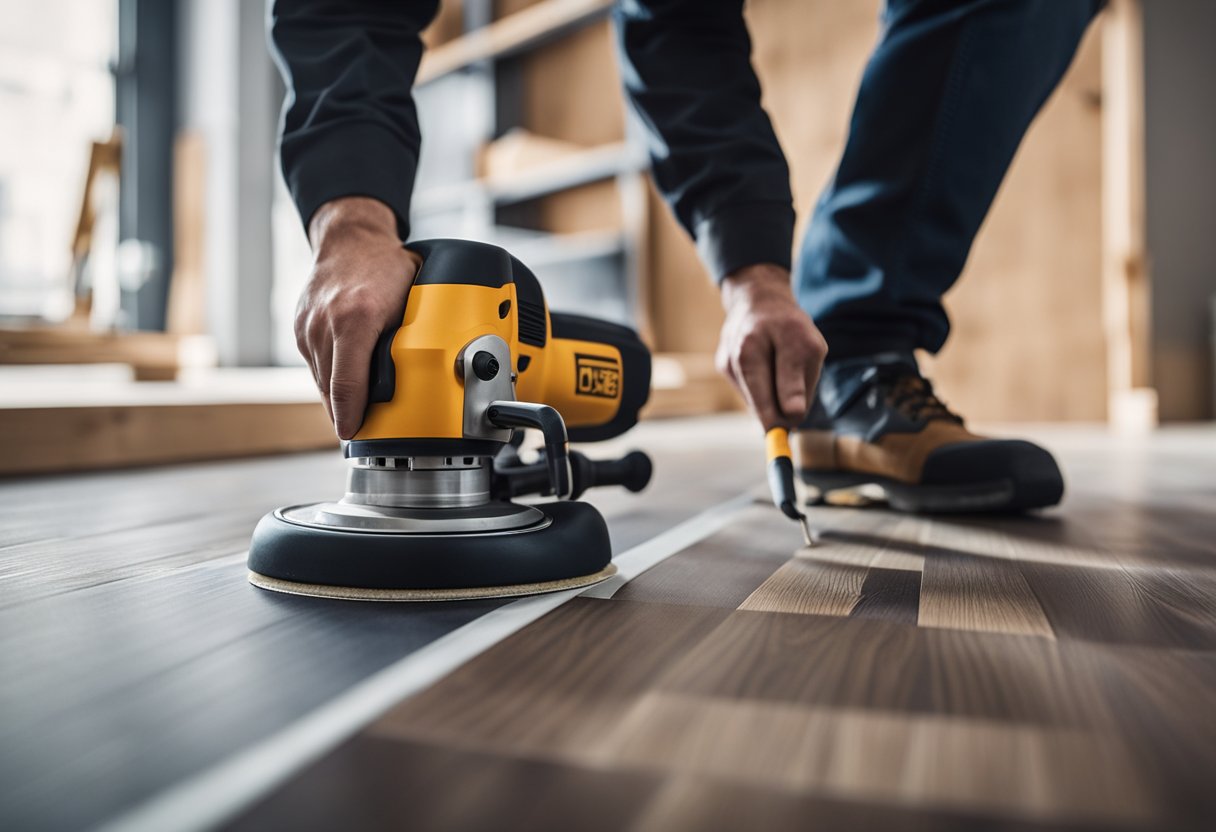
Techniques for Cutting Laminate Flooring
Cutting laminate flooring can be a daunting task, but with the right tools and techniques, it can be done with ease. Here are some techniques that can help you cut laminate flooring accurately and efficiently:
-
Circular Saw: A circular saw is one of the most common tools used for cutting laminate flooring. It is fast, efficient, and can make straight cuts with ease. It is important to use a fine-toothed blade to prevent chipping and splintering of the laminate.
-
Jigsaw: A jigsaw is a versatile tool that can be used to make curved cuts and intricate shapes. It is ideal for cutting around door frames and other obstacles. It is important to use a fine-toothed blade and to make slow, steady cuts to prevent chipping and splintering.
-
Table Saw: A table saw is a powerful tool that can make straight cuts with precision. It is ideal for cutting long, straight pieces of laminate. It is important to use a fine-toothed blade and to make sure the laminate is properly supported to prevent chipping and splintering.
-
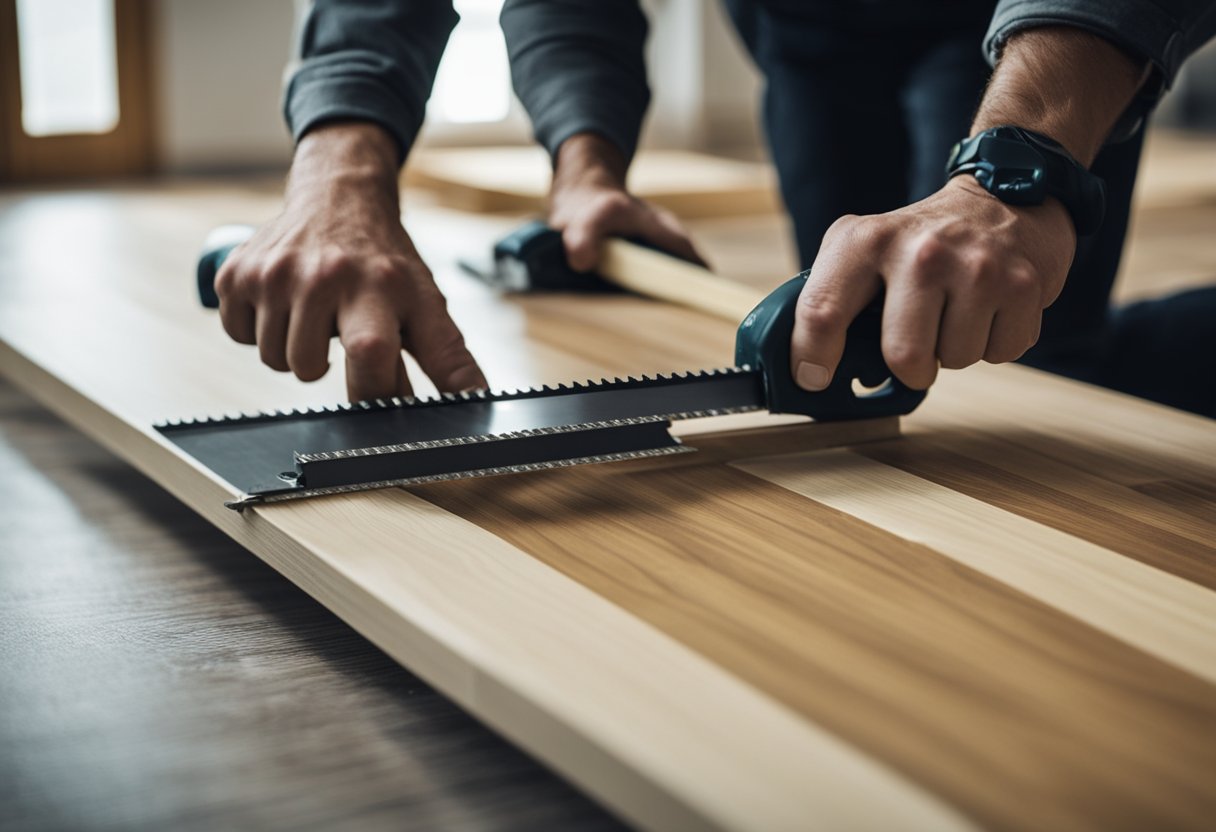
Hand Saw: A hand saw can be used to make small cuts and trim pieces of laminate. It is important to use a fine-toothed saw and to make slow, steady cuts to prevent chipping and splintering.
When cutting laminate flooring, it is important to measure twice and cut once. Always use the appropriate safety equipment, including eye and ear protection. With the right tools and techniques, cutting laminate flooring can be a breeze.
Installing Edge Trims
Choosing the Right Trim
When it comes to choosing the right trim for your laminate flooring, it is important to consider the color and texture of the floor as well as the overall design of the room. There are a variety of edge trims available in the market such as baseboard, quarter-round, T-molding, and end molding.
Baseboard trims are flat and wide and are used to cover the gap between the wall and the floor. Quarter-round trims are similar to baseboards but are rounded at the top. T-molding trims are used to transition between two different types of flooring, such as laminate and carpet. End molding trims are used to finish the edge of the floor where it meets a vertical surface like a wall or a step.
Trim Installation Process
Once you have selected the right trim for your laminate flooring, it’s time to install it. The process of installing edge trims is relatively simple and can be done by following a few steps.
Firstly, measure the length of the wall where you want to install the trim. Then, cut the trim to the desired length using a saw. Make sure to cut the trim at a 45-degree angle at the corners to ensure a neat finish.
Next, apply a small amount of adhesive to the back of the trim and press it firmly against the wall. Use a nail gun to secure the trim in place. Repeat the process for all the walls where you want to install the trim.
Finally, fill any gaps or nail holes with wood filler and sand it down until it is smooth. Once the filler is dry, you can paint or stain the trim to match the color of the laminate flooring.
By following these simple steps, you can easily install edge trims to give your laminate flooring a professional finish.
Applying Sealants for Edge Protection
Selecting Sealants
When it comes to protecting the edges of laminate flooring, applying sealants is a popular method. However, not all sealants are created equal. It is important to select a sealant that is specifically designed for use with laminate flooring. This will ensure that the sealant adheres properly and provides the necessary protection against moisture and other potential sources of damage.
When selecting a sealant, it is important to consider the type of laminate flooring being used. Some sealants may be better suited for certain types of laminate flooring than others. It is also important to consider the color of the sealant. Clear sealants are often preferred because they do not alter the appearance of the flooring.
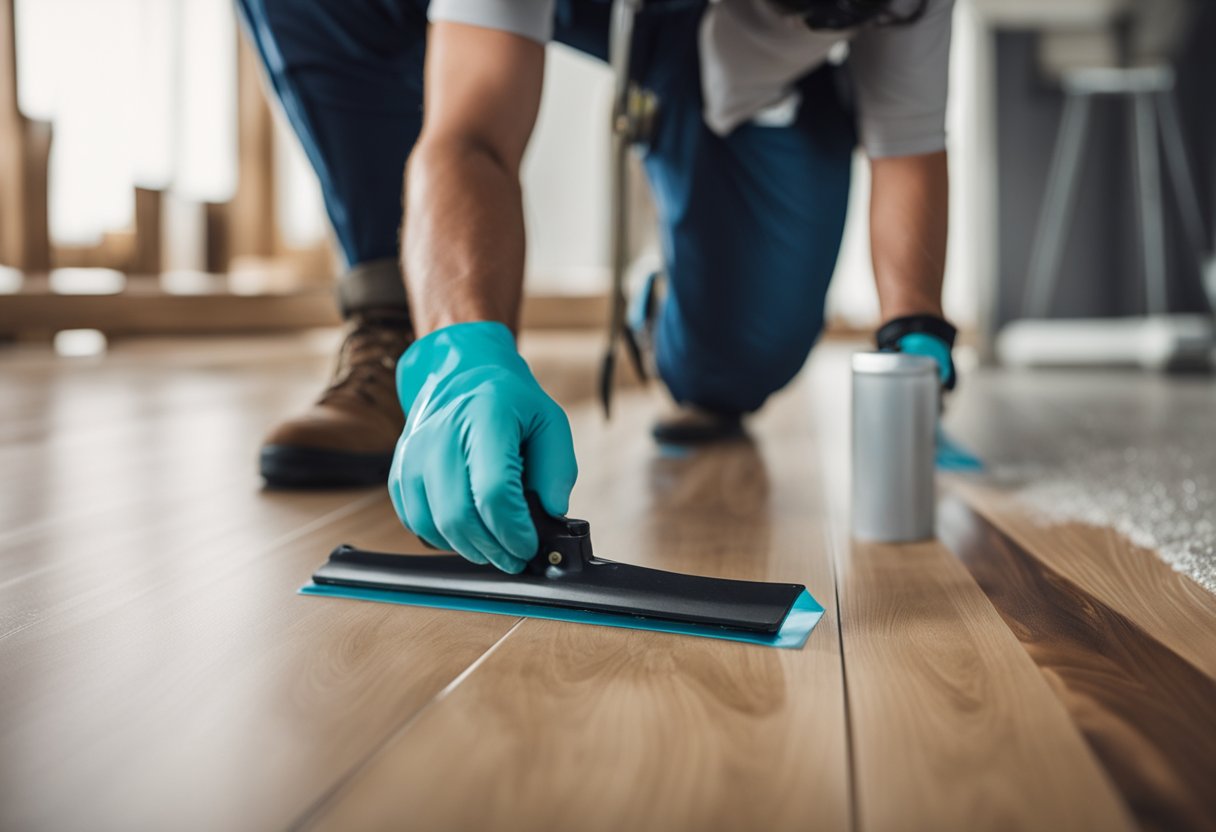
Sealant Application Method
Once a suitable sealant has been selected, the next step is to apply it to the edges of the laminate flooring. The application method will depend on the type of sealant being used. Some sealants may require a specific application tool, while others can be applied using a simple brush or roller.
Regardless of the application method, it is important to follow the manufacturer’s instructions carefully. This will ensure that the sealant is applied correctly and provides the necessary protection against moisture and other potential sources of damage.
After the sealant has been applied, it is important to allow it to dry completely before allowing foot traffic on the flooring. This will ensure that the sealant has had time to fully cure and provide the necessary protection.
Using Caulking for Edges
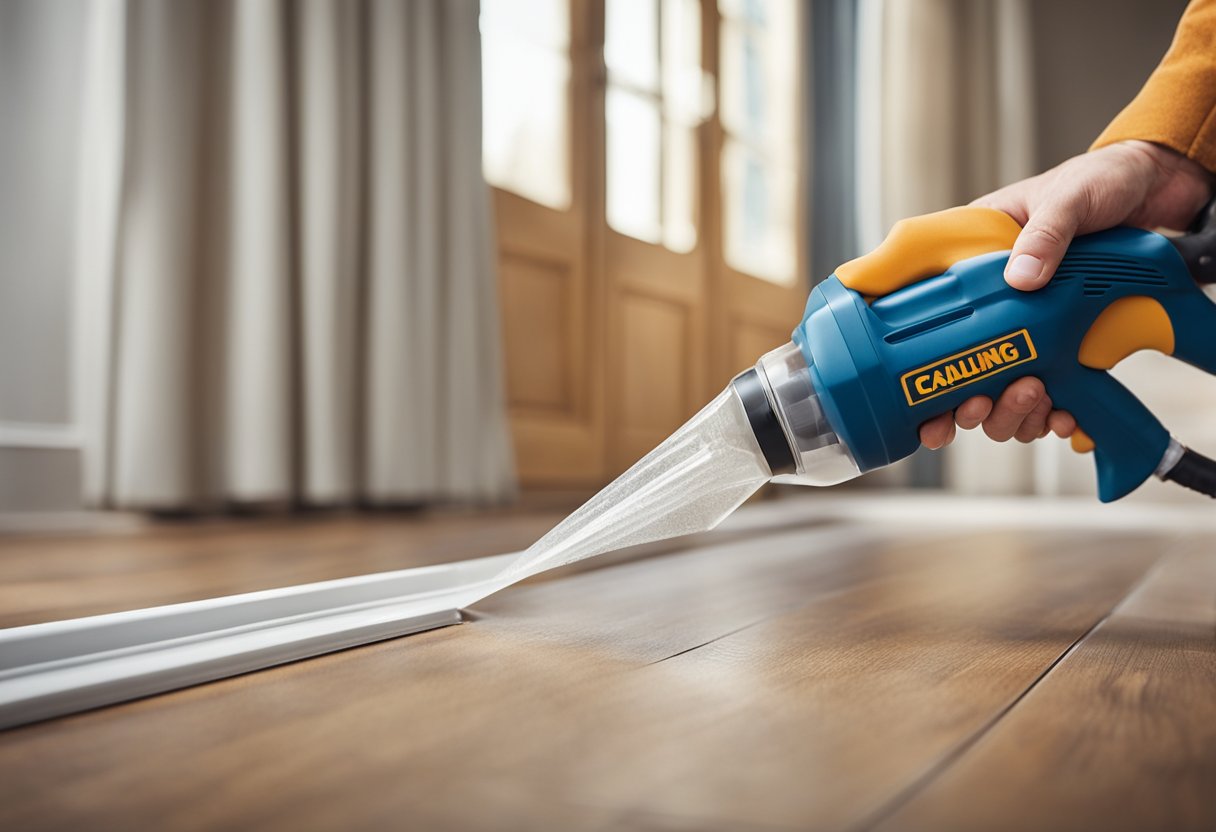
Caulking Techniques
Caulking is an effective way to seal the edges of laminate flooring and prevent moisture from seeping underneath. To apply caulk, first, clean the edges of the laminate flooring with a damp cloth to remove any dust or debris. Then, load the silicone sealant into the caulking gun and apply a thin, continuous bead of caulk along the edge of the flooring.
Use a caulk smoothing tool or a wet finger to smooth out the caulk and remove any excess. Make sure to work in small sections and wipe off any excess caulk immediately. Allow the caulk to dry for at least 24 hours before removing the painter’s tape.
Caulk Finishing Tips
To achieve a professional-looking finish when caulking, it’s important to follow a few tips. First, use a high-quality silicone caulk that matches the color of the laminate flooring. This will help the caulk blend in and create a seamless finish.
Second, apply the caulk in a thin, continuous bead along the edge of the flooring. Avoid applying too much caulk, as this can create a messy finish. Third, use a caulk smoothing tool or a wet finger to smooth out the caulk and remove any excess.
Finally, allow the caulk to dry completely before removing the painter’s tape. This will help ensure that the caulk adheres properly and creates a tight seal. With these tips, anyone can achieve a professional-looking finish when using caulk to seal the edges of laminate flooring.
Transition Strips Installation
Transition strips are an essential element in finishing the edges of laminate flooring. They provide a seamless transition between different types of flooring and cover the expansion gaps and unfinished ends in laminate flooring. There are different types of transition strips available, and each serves a specific purpose.
Types of Transition Strips
The most common types of transition strips are reducers, T-moldings, and end caps. Reducers are used when the laminate flooring meets a thicker flooring material, such as hardwood. T-moldings are used when the laminate flooring meets another flooring material of the same height, such as tile or carpet. End caps are used when the laminate flooring meets a vertical surface, such as a wall or staircase.
Fitting Transition Strips
Fitting transition strips requires careful measurement and cutting. The transition strip should be cut to the exact length required and fitted snugly against the edge of the laminate flooring. The strip should be secured in place using adhesive or screws, depending on the type of transition strip and the surface it is being attached to.
It is important to ensure that the transition strip is level and flush with the surface of the laminate flooring. Any gaps or unevenness can cause tripping hazards and affect the overall appearance of the flooring.
In conclusion, transition strips are a crucial element in finishing the edges of laminate flooring. There are different types of transition strips available, and each serves a specific purpose. Fitting transition strips requires careful measurement and cutting to ensure a snug fit and level surface.
T-Molding Installation for Edges
T-molding is a useful technique for finishing the edges of laminate flooring. It is particularly useful for areas where the flooring meets another type of flooring or a different level.
To install T-molding, start by measuring the width of the doorway or transition area where the T-molding will be installed. Cut the T-molding to the correct length, allowing for a small gap on either side to accommodate expansion and contraction of the flooring.
Next, lay the T-molding in place and mark the location of the metal track on the subfloor. Remove the T-molding and attach the metal track to the subfloor using screws or adhesive.
Once the track is installed, snap the T-molding into place. It should fit snugly into the track, but still allow for some movement.
T-molding is an effective technique for finishing the edges of laminate flooring. It provides a clean, professional look and helps protect the edges of the flooring from damage.
Reducer Strip Application
Reducer strips are a type of transition strip that is used to connect two floors of different heights. They are often used when transitioning from laminate flooring to another type of flooring. Reducer strips come in different materials, including metal, wood, and vinyl.
To install a reducer strip, start by measuring the length of the area where the strip will be installed. Cut the strip to the correct length using a saw. Next, apply adhesive to the underside of the strip and press it firmly into place. Make sure that the strip is level and flush with both floors.
It is important to note that the thinner floor should be on the same side as the beveled edge of the reducer strip. This will prevent tripping hazards and ensure a smooth transition between the two floors.
In addition to providing a safe and seamless transition, reducer strips can also add a decorative touch to your flooring. They come in a variety of colors and finishes, so you can choose one that complements your existing flooring and enhances the overall look of your space.
Stair Edging Solutions
When it comes to laminate flooring installation on stairs, choosing the right stair edging solution is crucial. Stair edging not only provides a finished look to the stairs but also ensures safety by reducing the risk of slipping and tripping. Here are some stair edging solutions to consider:
Stair Nose Types
Stair nosing, also known as bullnose, is the most common type of edging used on stairs. It is designed to cover the edge of the stair tread and provide a smooth transition from the stair to the floor. Stair nosing comes in different materials such as aluminum, wood, and PVC, each with its own set of advantages and disadvantages.
Aluminum stair nosing is durable, slip-resistant, and can be easily installed using adhesive or screws. Wood stair nosing, on the other hand, is aesthetically pleasing and can be stained or painted to match the laminate flooring. PVC stair nosing is affordable, lightweight, and easy to clean.
Installation of Stair Nosing
Installing stair nosing requires precision and attention to detail. Here are the steps to follow:
- Measure the length of the stair tread and cut the stair nosing to size.
- Apply adhesive to the back of the stair nosing and press it firmly onto the stair tread.
- Secure the stair nosing using screws or nails, depending on the material.
- Repeat the process for each stair tread.
It is important to note that stair nosing should overlap the laminate flooring by at least 1/4 inch to provide a seamless transition. Additionally, it is recommended to use a matching color caulking to fill any gaps between the stair nosing and the laminate flooring.
In summary, choosing the right stair edging solution is crucial for a safe and aesthetically pleasing laminate flooring installation on stairs. Stair nosing is the most common type of edging used on stairs and comes in different materials such as aluminum, wood, and PVC. Installing stair nosing requires precision and attention to detail to ensure a seamless transition from the stair to the floor.
Maintenance and Repair of Laminate Flooring Edges
To keep laminate flooring edges looking their best, regular maintenance is key. Use a soft-bristled broom or vacuum cleaner with a hard floor attachment to remove dirt and debris from the edges. Avoid using a wet mop or excessive amounts of water, as this can cause the edges to warp or buckle. Instead, use a damp microfiber mop to gently clean the edges.
If the edges of the laminate flooring become damaged, they can be repaired with a few simple techniques. Scratches can be filled in with a wax pencil or repair putty. For more severe damage, a repair kit can be used to replace damaged pieces of laminate flooring.
One common issue with laminate flooring edges is peaking, which occurs when the edges of the planks lift up and create a gap. This can be caused by changes in temperature or humidity. To fix this issue, gently tap the edges back into place using a tapping block and a hammer.
Another issue that can occur is chipping or peeling of the laminate flooring edges. To repair this, wood filler can be used to fill in the damaged area and then sanded smooth.
By following these maintenance and repair techniques, laminate flooring edges can remain looking their best for years to come.
FAQs on Laminate Flooring Edge Finishing Techniques
What are the best methods for sealing the edges of laminate floors?
To seal the edges of laminate floors, there are a few different methods that can be used. One popular option is to use a silicone sealant along the edges of the flooring. Another option is to use a laminate floor edge sealant, which can be applied with a brush or roller. It is important to ensure that the sealant is applied evenly and allowed to dry completely before walking on the floor.
How do you properly install laminate floor trim?
Installing laminate floor trim is a relatively simple process. First, measure the length of the wall where the trim will be installed. Then, cut the trim to the appropriate length using a saw. Next, apply a small amount of adhesive to the back of the trim and press it firmly into place along the edge of the flooring. Finally, use finishing nails or screws to secure the trim in place.
What are the most effective edging options for laminate flooring?
There are several effective edging options for laminate flooring, including baseboards, quarter round, and T-molding. Baseboards and quarter round are both types of trim that can be installed along the bottom of the wall to cover the gap between the flooring and the wall. T-molding is a transition strip that can be used to join two different types of flooring together, such as laminate and tile.
Are there any alternatives to traditional laminate flooring edging?
Yes, there are several alternatives to traditional laminate flooring edging. One option is to use a flush mount stair nose, which is designed to cover the edge of the flooring on stairs. Another option is to use a laminate floor edge trim, which can be applied directly to the edge of the flooring to create a clean, finished look.
How can you conceal the edges of laminate flooring for a cleaner look?
To conceal the edges of laminate flooring for a cleaner look, one option is to use a laminate floor edge trim. Another option is to install baseboards or quarter round along the bottom of the wall to cover the gap between the flooring and the wall. It is important to ensure that the trim is installed evenly and securely to create a seamless look.
What is the process for fitting self-adhesive laminate edge trim?
The process for fitting self-adhesive laminate edge trim is relatively simple. First, measure the length of the edge where the trim will be installed. Then, cut the trim to the appropriate length using a pair of scissors. Next, peel off the backing from the adhesive strip and press the trim firmly into place along the edge of the flooring. Finally, use a roller to ensure that the trim is securely attached to the flooring.
Final Conclusion
Our guide on laminate flooring edge finishing techniques is a valuable resource for achieving a professional and durable finish.
It covers various methods like beading, skirting, and the use of transition strips, emphasizing the importance of proper preparation and the right tools.
This knowledge is essential for homeowners and installers aiming for a polished appearance and long-lasting performance of laminate flooring.