Installing laminate flooring is a practical and visually appealing enhancement for many homes, offering durability along with a quick and clean installation process. Laminate flooring is favored for its versatility and ease of maintenance, making it a suitable choice for various rooms in the house.
Before beginning the installation, knowing the right tools and preparing the subfloor properly are essential steps that ensure a seamless and enduring fit. The installation involves a systematic approach, from choosing the pattern to the final touches, that when done correctly, can last for years and significantly improve the aesthetics of your living space.
Key Takeaways
- Laminate flooring is durable and easy to maintain.
- Proper tools and subfloor preparation are key.
- Correct installation leads to long-lasting results.
Considerations Before Installing Laminate Flooring
Before beginning a laminate flooring project, it is crucial to evaluate the space and materials to ensure a successful installation. Proper preparation will lead to enhanced durability and appearance of your laminate flooring.
Assessing The Current Floor Condition
It’s essential to assess the condition of the current floor. The subfloor must be clean, level, and structurally sound. If it’s uneven, measures such as using a leveling compound may be necessary. A thorough examination prevents future issues with the laminate flooring after installation.
Room Humidity And Temperature Considerations
A stable environment is key when installing laminate flooring. The room’s humidity should be consistent, ideally between 35% to 65%, to prevent warping or gapping. Additionally, maintaining a temperature of 60°F to 80°F allows the laminate to acclimate properly before installation.
Choosing The Right Type Of Laminate For Your Space
Selecting the appropriate type of laminate is critical for both aesthetics and functionality. Consider the traffic level of the area. High-traffic areas benefit from thicker, more durable laminate. The choice of underlayment is also important for comfort and moisture protection.
Tools & Materials Needed For Laminate Floor Installation
Before beginning the installation process of laminate flooring, one needs to ensure they have all the necessary tools and materials. Proper preparation with the correct items will facilitate a smooth installation experience.
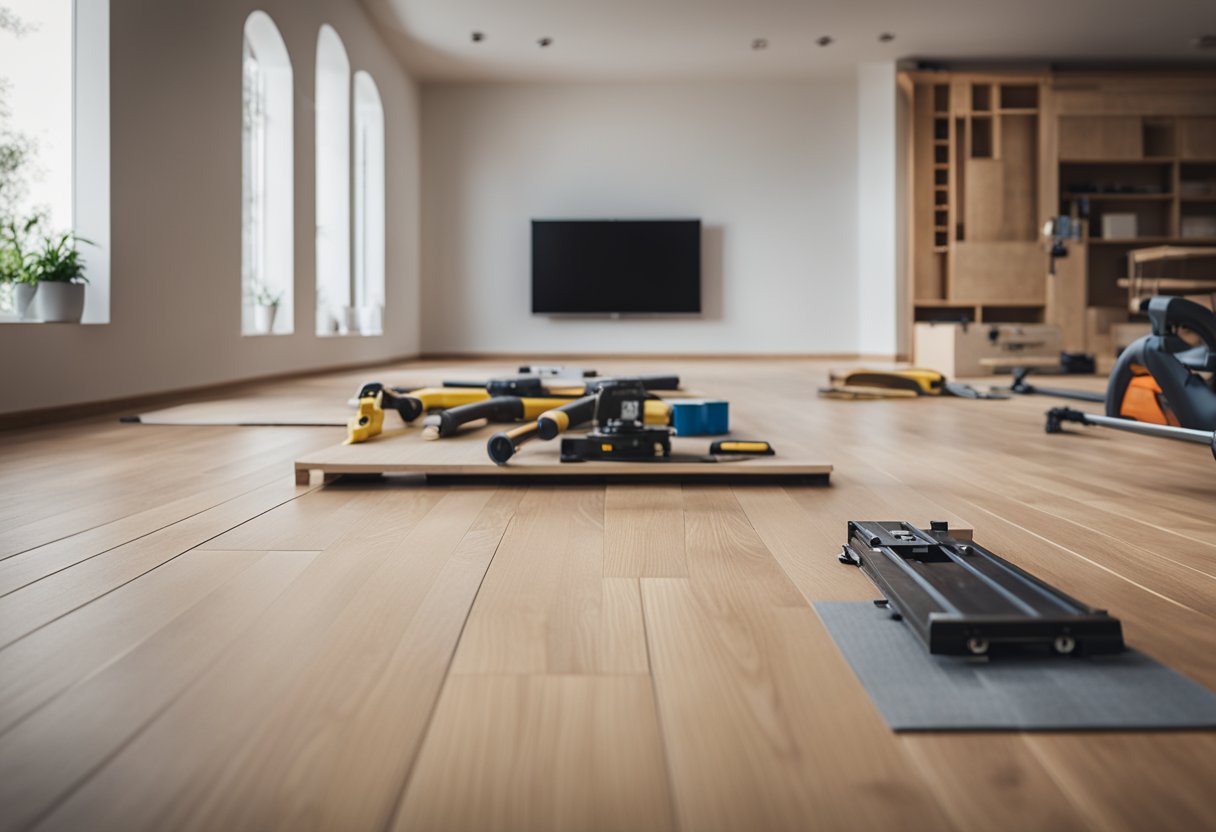
Tools Used To Install Laminate Flooring
The installation of laminate flooring requires a specific set of tools to achieve professional results. Here’s a concise list:
- Saw: To cut the laminate planks to the correct size.
- Hammer: For securing joints or tapping blocks.
- Utility Knife: Essential for trimming and detail cuts.
- Tapping Block: To gently tap planks into a locked position.
- Level: Ensures the floor is evenly flat.
- Tape Measure: For precise measurements during plank cutting.
- Spacers: To maintain an expansion gap between the flooring and wall.
- Installation Kit: Often includes spacers, tapping block, and pulling bar.
Materials
In addition to tools, several key materials are also necessary. A straightforward list includes:
- Underlayment: Lays the foundation for the laminate, providing sound reduction and moisture protection.
- Laminate Flooring: The primary material that will cover the floor.
- Vapor Barrier: This is crucial if installing over concrete to prevent moisture damage.
- Adhesive: May be required for some types of laminate flooring that do not have a lock-in mechanism.
- Expansion Gap Fillers: To conceal the space left for the natural expansion of the laminate planks.
Preparation Steps For Laminate Flooring Installation
Proper preparation is crucial to ensure a smooth and successful laminate flooring installation. This section outlines the necessary steps to prepare for laying down laminate floors, focusing on acclimation, preliminary steps, and subfloor preparation.
Acclimating Your Laminate Flooring
Laminate planks need to acclimate to the environment of the room in which they will be installed. One should leave the unopened packages of laminate flooring lying flat in the room for at least 48 hours prior to installation. This allows them to adjust to the room’s temperature and humidity levels, preventing warping or gaps post-installation.
Making The Necessary Preparations
Prior to installation, one should clear the room, removing furniture and old flooring if necessary. It’s essential to check whether doorways require adjustment for the flooring to fit beneath them. Removing base moldings and ensuring a clean, level surface can also facilitate the installation process.
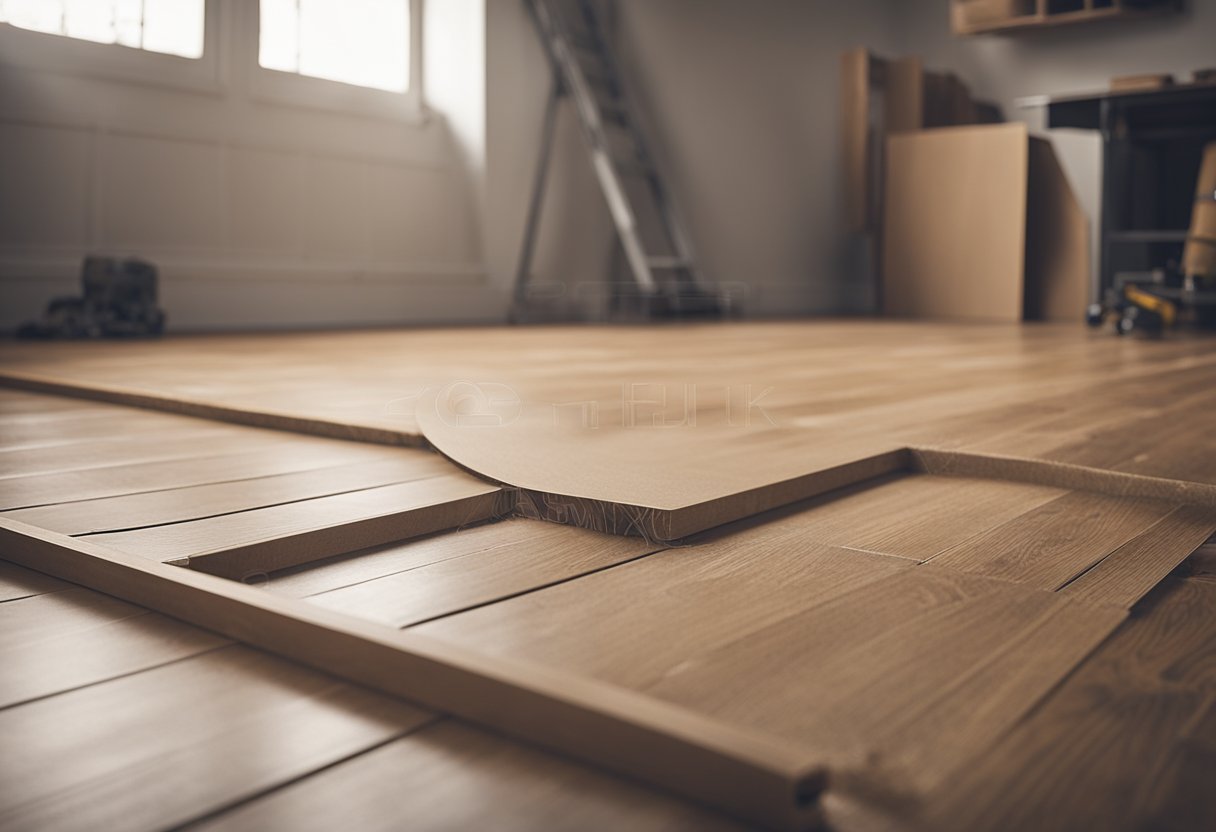
Prepare The Subfloor
The subfloor must be clean, dry, stable, and level. Any high spots can be sanded down while low spots should be filled with leveling compound to ensure a flat surface. A vapor barrier is vital if laying laminate over concrete, to prevent moisture damage. For additional insulation and comfort underfoot, an underlay should be rolled out over the subfloor before the laminate flooring is installed.
Laminate Flooring Installation Steps

Installing laminate flooring involves meticulous preparation and precise execution. The installer must measure the room accurately, cut around doors skillfully, and ensure that planks on both the first and last rows fit perfectly.
Measuring The Room
To begin, one must measure the room carefully with a tape measure to determine the amount of laminate flooring needed. They need to account for potential waste from cuts, especially around the edges of the room.
Cutting The Moulding Around Your Door
Cutting the moulding requires precision. An oscillating saw can be used to trim door jambs so that laminate planks can slide underneath, creating a clean appearance.
Planning & Cutting The First And Last Row Of Planks
Planning involves ensuring the first and last rows are not too narrow. Cutting laminate flooring to fit requires careful measurement and use of a suitable saw, with spacers positioned to allow for expansion.
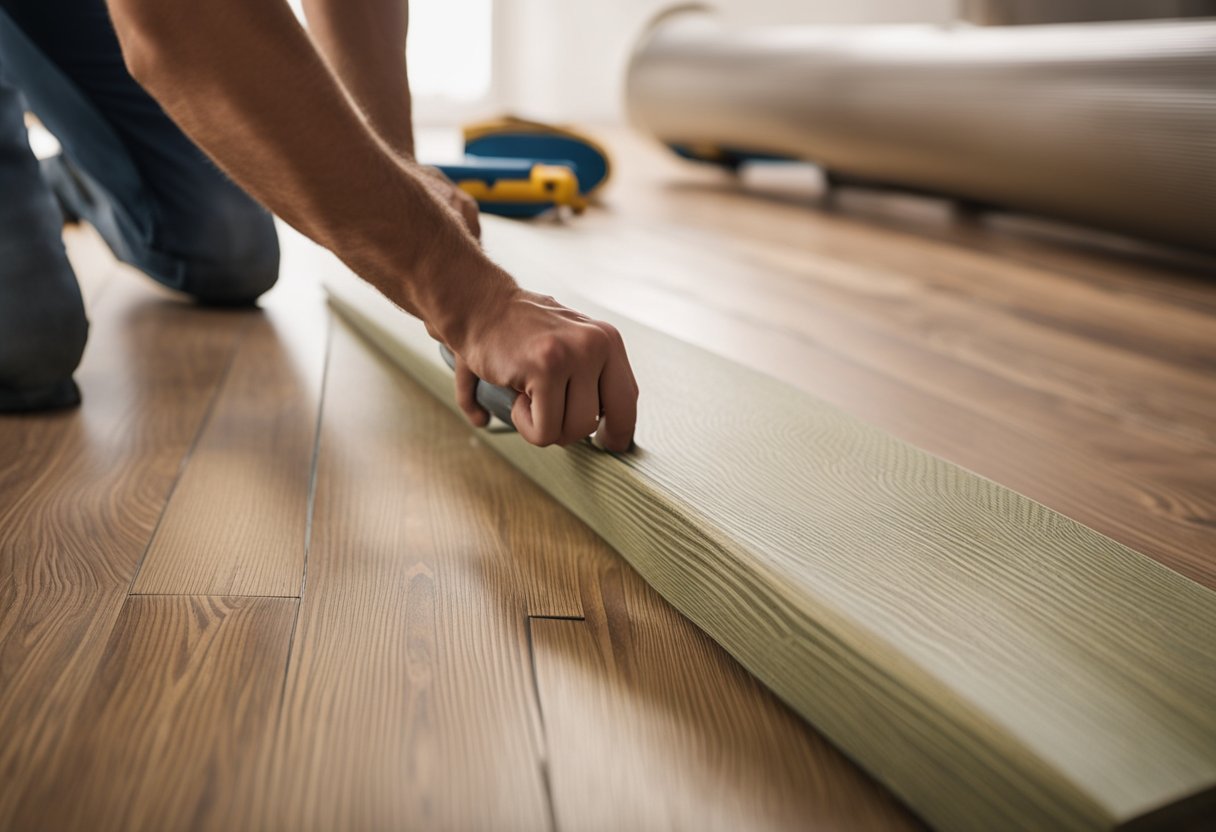
Installing The Underlayment
Before laying the planks, one must install the underlayment on the subfloor. This provides a vapor barrier, cushions the flooring, and reduces noise. It should be flat and free of overlaps.
Installing The First Row Of Planks
The first row sets the tone for the entire installation. Planks should be laid down with the tongue side against the wall, using spacers to maintain an expansion gap around the room’s perimeter.
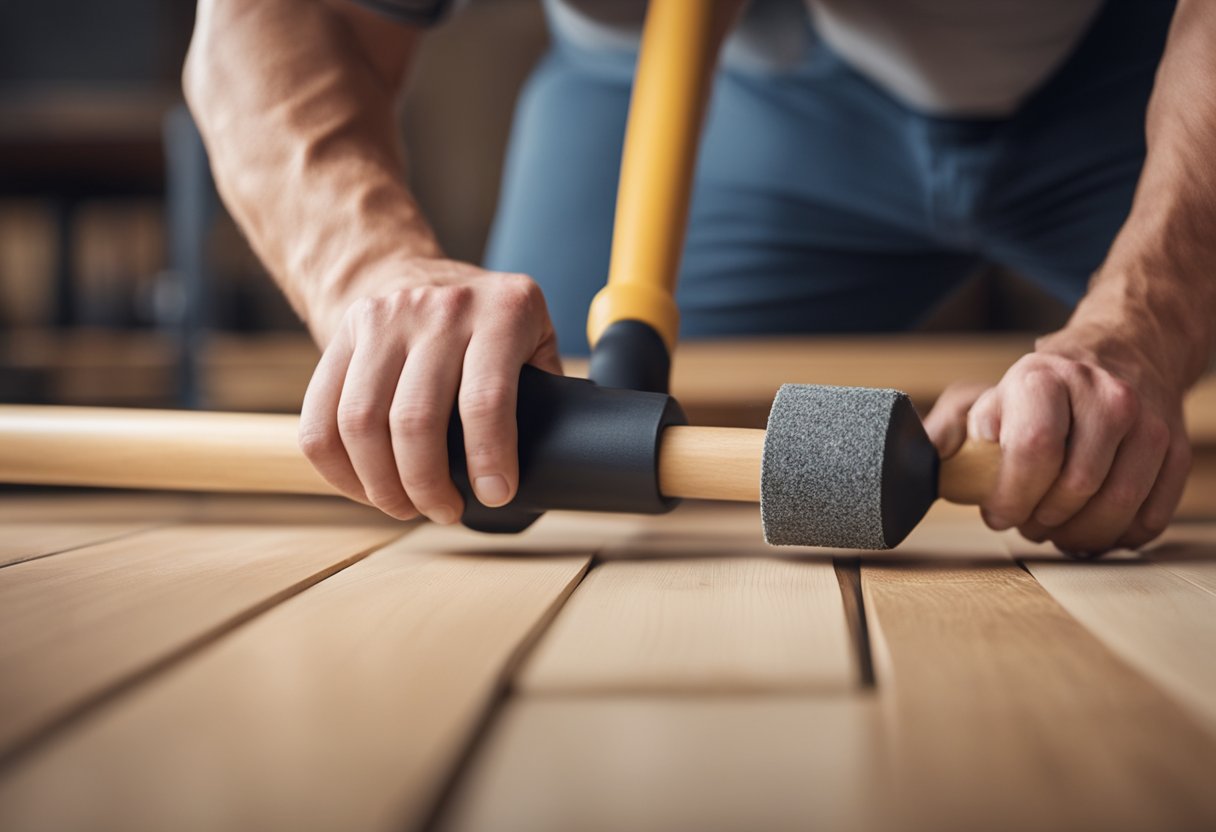
Installing The Remaining Rows
Continuing the installation process, the remaining rows should be staggered for both aesthetics and stability. A tapping block and rubber mallet may be used to gently lock planks together without damaging the edges of the laminate floors.
Installing The Last Row Of Planks
For the last row, one might need to cut planks lengthwise. A pull bar can help to install these final pieces in tight spaces, ensuring a snug fit without affecting the floating floor’s ability to expand and contract.
Finishing Touches & Post-Installation
After the laminate flooring is laid down, it’s important to add finishing touches for a polished look and perform regular maintenance to ensure longevity.
Installing Transitions, Trims, And Molding
Transitions: These elements are vital to cover the expansion gaps between different types of flooring or thresholds. The transitions should be cut to fit and secured according to the manufacturer’s instructions. Trims and Moldings: Baseboard molding and quarter-rounds add a refined appearance to the room. They should match the laminate floors for a cohesive design and be carefully measured, cut, and nailed or glued into place.
Cleaning And Maintenance
Cleaning: Keeping laminate floors clean will maximize their durability and appearance. Use a vacuum or microfiber mop to remove debris. Avoid excessive water and harsh cleaning agents that can cause damage. Maintenance: Periodic maintenance includes checking for scratches or dents in the flooring. Utilize manufacturer-recommended repair kits to fix minor damage. For maintenance tips, ensure to follow the guidelines specific to your laminate floors.
Additional Tips And Common Mistakes To Avoid

When installing laminate flooring, one should measure the space accurately to prevent buckling due to improper expansion space. A common mistake is not leaving enough clearance around the room’s perimeter, as laminate needs room to expand and contract.
Before cutting laminate flooring, DIYers must ensure the use of a suitable laminate cutter. This precision will prevent chipping and will provide a cleaner edge. Avoid using dull blades as they can compromise the integrity of the flooring.
Avoid ignoring the manufacturer’s instructions regarding acclimation. Flooring should be allowed to acclimate to the room’s environment to prevent warping post-installation.
Common mistakes include:
- Failing to check the subfloor for levelness
- Not using underlayment where necessary
| Installation Tips | To Avoid |
|---|---|
| Acclimate flooring for at least 48 hours | Rushing installation without acclimation |
| Use spacers for expansion gaps | Neglecting perimeter clearance |
| Employ correct tools like a laminate cutter | Using inappropriate tools for cutting |
DIYers should also install an underlayment to provide a sound barrier and moisture protection. Finally, ensure transition strips at doorways for a clean look, especially if the adjoining room has different flooring.
DIY Installation Vs. Professional Installation
When considering laminate flooring installation, homeowners must decide between DIY (do-it-yourself) and hiring a flooring expert. The choice can affect the quality of installation, overall costs, and the time commitment required.
DIYers often choose this route due to potential cost savings and the satisfaction of completing a home improvement project. Manufacturers typically design laminate flooring for easy installation, promoting it as a DIY-friendly option. They provide instructions aimed at homeowners who have basic tools and are willing to learn.
Pros of DIY Installation:
- Potential Cost Savings
- Personal Achievement
- Flexible Timing
Cons of DIY Installation:
- Requires Time Investment
- Learning Curve
- Risk of Mistakes
On the other hand, professional installation ensures that experienced technicians apply their expertise to achieve optimal results. Flooring experts are familiar with the nuances of different brands and types of laminate flooring. They can navigate unexpected challenges, such as subfloor irregularities or complicated room layouts.
Pros of Professional Installation:
- Expertise and Experience
- Efficiency and Speed
- Warranty Compliance
Cons of Professional Installation:
- Higher Cost
- Scheduling Constraints
- Less Hands-On Involvement
Comparatively, choosing a DIY installation requires careful consideration of one’s skill level and the complexity of the project. Whereas, hiring a professional guarantees quality but at a higher price point. Homeowners need to weigh these pros and cons relative to their circumstances and the manufacturer’s guidelines for installation.
Frequently Asked Questions
In the process of installing laminate flooring, homeowners often have a variety of questions. This section covers those pertinent queries, offering clear, knowledgeable answers.
What specific tools are required to install laminate flooring?
The installation of laminate flooring requires a handful of specific tools. She needs a tape measure, utility knife, hammer, spacers, saws for cutting planks, and a tapping block.
Which type of underlayment is best suited for laminate flooring installation?
For optimal results, they should choose an underlayment that provides moisture barrier and sound insulation. Options like foam or cork underlayment are popular and suited for laminate floors.
What are the most common mistakes to avoid when installing laminate flooring?
One should avoid not acclimating the flooring to the room’s environment and not leaving sufficient expansion gaps. These oversights can lead to warping and buckling of the floor.
What is the proper method for laying laminate flooring on concrete surfaces?
When laying laminate flooring over concrete, it’s essential to ensure the concrete is dry, clean, and level. A moisture barrier must be laid down before the underlayment and planks are installed.
How should one cut laminate flooring to fit around obstacles and edges?
She cuts laminate flooring by first carefully measuring the necessary size and shape. A jigsaw or handsaw can then be used to make precise cuts for a perfect fit.
Can laminate flooring be installed in a bathroom, and if so, how?
They can install laminate flooring in a bathroom as long as it’s water-resistant and properly sealed. All edges and around fixtures should have a waterproof silicone sealant applied.
Conclusion
Installing laminate flooring can enhance a home’s aesthetic appeal and durability. The materials resist scratches and are easy to clean, which make them ideal for busy households.
As with any home improvement project, thorough preparation is key. Reviewing installation steps ahead of time can provide a clearer understanding of the process.
Homeowners should feel encouraged by the manageable nature of a laminate flooring installation. With clear guidelines, the task becomes less daunting.
While it requires attention to detail, the project is undoubtedly within the reach of those willing to invest the time. Benefits of laminate flooring, such as cost-effectiveness and versatility, often make the effort worthwhile.
One should consider the satisfaction of completing a successful DIY project. A well-installed laminate floor is a testament to homeowner skill and resilience.