Laying laminate flooring in a hallway can be a tricky task, but with the right tools and preparation, it can be done easily and efficiently. The first step is to gather all the necessary tools and materials, including laminate flooring, underlayment, spacers, and cutting tools. Once you have everything you need, it’s time to start preparing the hallway for installation.
The preparation process involves measuring the hallway, planning the layout, and ensuring that the subfloor is clean and level. It’s important to take accurate measurements to determine the amount of flooring and underlayment needed. Planning the layout involves deciding on the direction of the flooring and where to start laying the first row. Cleaning and leveling the subfloor is crucial for a smooth and even installation. Once the hallway is prepped and ready, it’s time to start laying the flooring.
Key Takeaways
- Proper preparation is key to a successful installation of laminate flooring in a hallway.
- Accurate measurements and planning are essential for a smooth and efficient installation.
- Careful attention to detail during the installation process will ensure a beautiful and long-lasting floor.
How to Lay Laminate Flooring in a Hallway: Tools Needed
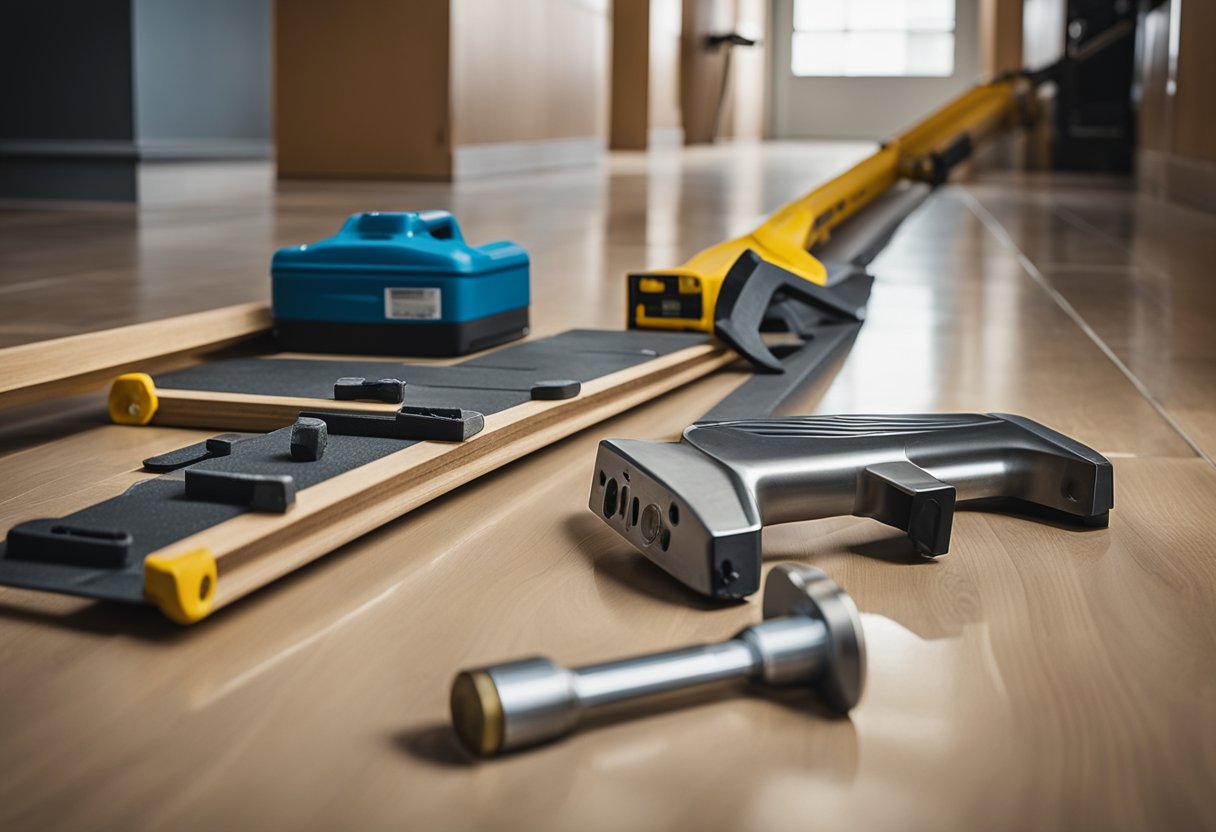
To lay laminate flooring in a hallway, the following tools and materials are essential:
- Laminate flooring
- Underlayment
- Measuring tape
- Saw
- Hammer
- Spacers
- Tapping block
- Pull bar
- Knee pads
The first step in laying laminate flooring in a hallway is to measure the length and width of the space. Once the measurements are taken, the laminate flooring and underlayment can be purchased. It is important to purchase extra laminate flooring to account for any mistakes or cutting errors.
A saw is required to cut the laminate flooring to size. A hammer is necessary to secure the flooring in place. Spacers are used to ensure that there is enough space between the wall and the laminate flooring for expansion. A tapping block and pull bar are used to fit the laminate flooring together.
Knee pads are essential to protect the knees while working on the floor. It is important to wear comfortable clothing that allows for easy movement. The tools and materials needed for laying laminate flooring in a hallway are readily available at most hardware stores.
Preparation of the Hallway

Before laying laminate flooring in a hallway, it is important to prepare the space properly. This includes removing any existing flooring, cleaning the subfloor, and measuring the area to determine the amount of laminate flooring needed.
To begin, remove any existing flooring, such as carpet or tile, from the hallway. This can be done using a utility knife and pry bar. Once the old flooring has been removed, clean the subfloor thoroughly to remove any debris or adhesive residue. This will ensure that the new laminate flooring adheres properly.
After cleaning the subfloor, measure the length and width of the hallway to determine the amount of laminate flooring needed. It is recommended to purchase 10% more flooring than the actual square footage of the hallway to account for any waste or mistakes during installation.
Once the laminate flooring has been purchased, allow it to acclimate to the room for at least 48 hours before installation. This will allow the flooring to adjust to the temperature and humidity of the room, reducing the risk of warping or buckling after installation.
By properly preparing the hallway before installation, the laminate flooring will have a strong, durable foundation for years to come.
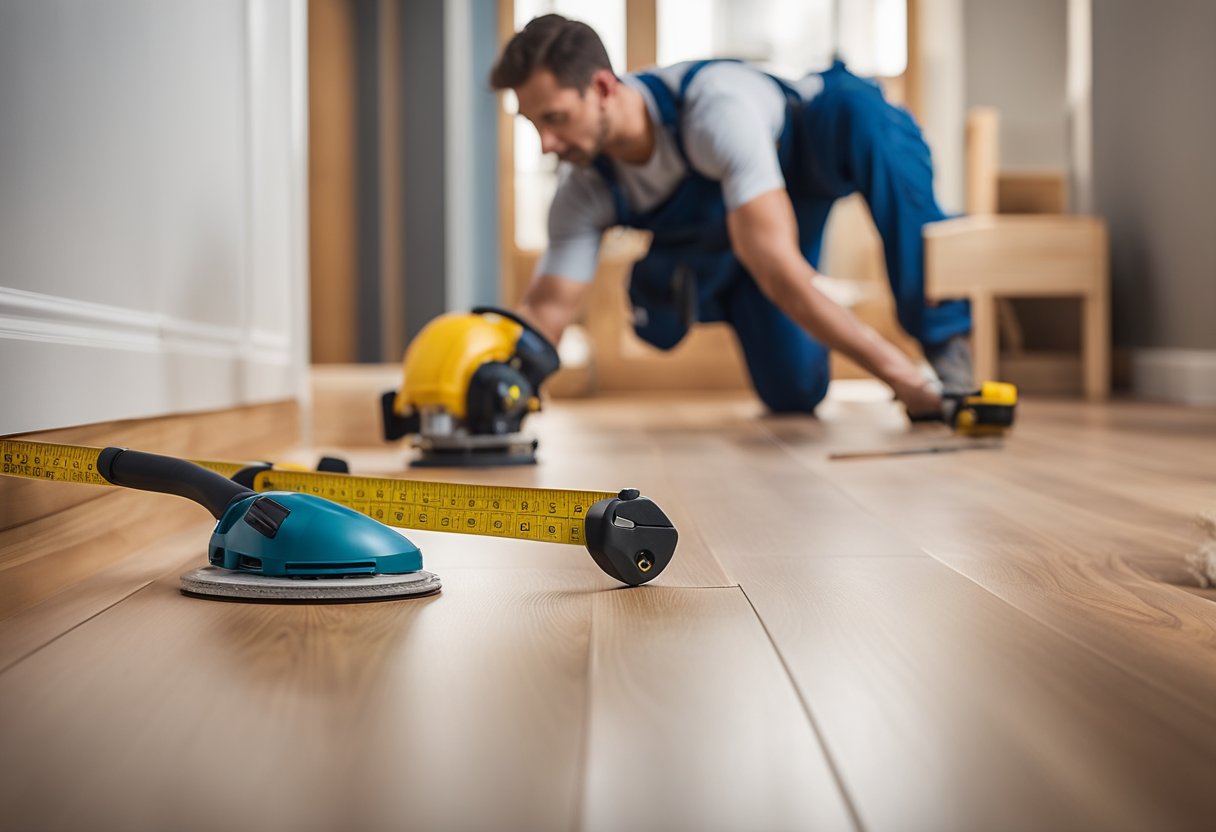
Measuring and Planning Layout
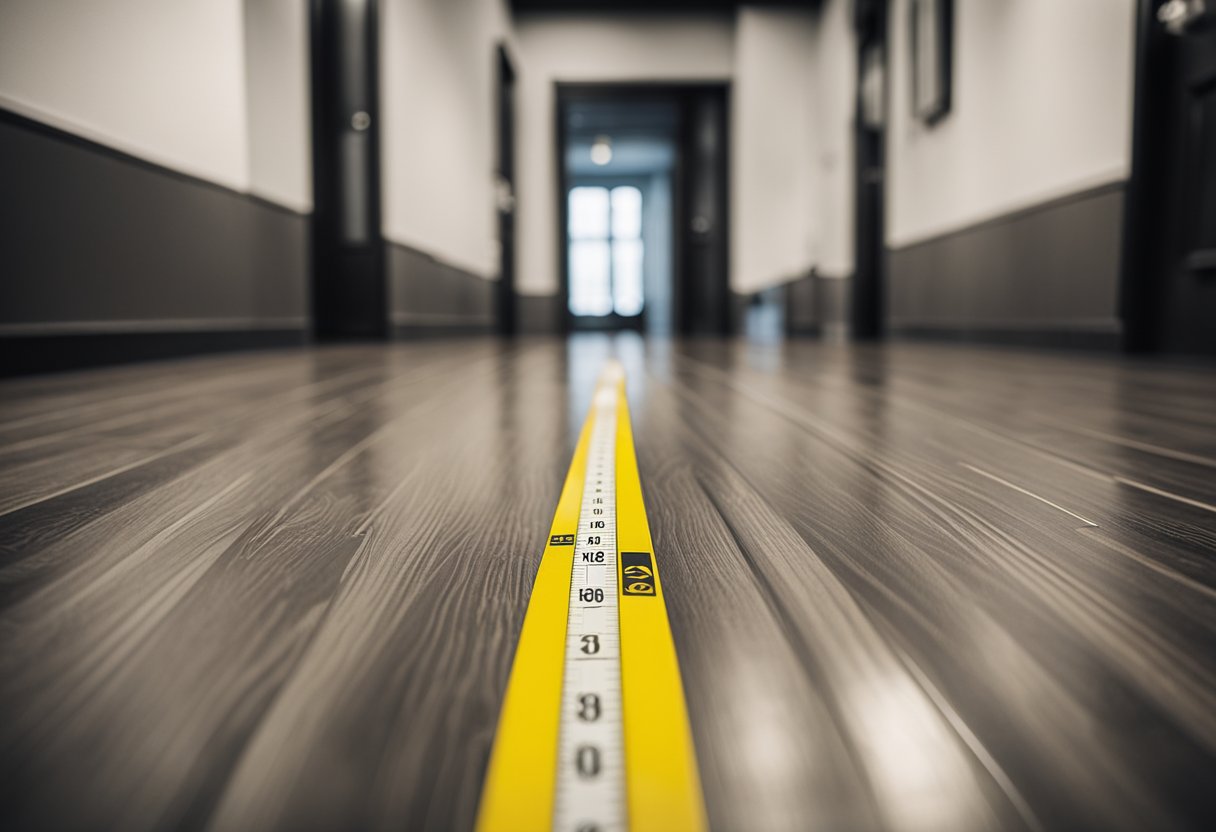
Before laying laminate flooring in a hallway, it is essential to measure the space accurately and plan the layout. This will ensure that you have enough material to complete the job and help you avoid wasting any wood flooring. Here are the steps to get started:
- Measure the length and width of the largest wall in the L-shaped hallway. Then, determine the size of the shortest wall. This will help you determine how much laminate flooring you need to buy.
- Decide on the direction in which you want to lay the laminate flooring. One option is to lay the planks parallel to the longest wall in the hallway. Another option is to lay the planks perpendicular to the longest wall. Keep in mind that laying the planks perpendicular to the longest wall can make the hallway appear wider.
- Plan the layout of the planks before you start laying them. This will help you avoid ending up with small, narrow pieces of laminate at the end of the hallway. One way to do this is to lay out the planks on the floor in the pattern you want to use. This will help you visualize how the finished floor will look.
By taking accurate measurements and planning the layout of the laminate flooring, you can ensure that the installation process goes smoothly and that the finished floor looks great.
Underlayment Installation
Choosing the Right Underlayment
Choosing the right underlayment is crucial for a successful laminate flooring installation. Underlayment is a thin layer of material that is placed between the subfloor and the laminate flooring. It helps to create a smooth surface for the laminate to be installed on, and also provides sound insulation and moisture protection. There are different types of underlayment available, and the type you choose will depend on the subfloor and the conditions of the room.
For a hallway, it is recommended to use an underlayment that is at least 3mm thick. The underlayment should also have a moisture barrier to protect against any moisture that may seep through the subfloor. A foam underlayment is a popular choice for laminate flooring as it is lightweight, easy to install, and provides good sound insulation.
Underlayment Installation Process
Before installing the underlayment, make sure the subfloor is clean and free of any debris. Lay out the underlayment in the direction that the laminate flooring will be installed. Cut the underlayment to size, leaving a 1/4 inch gap around the edges of the room to allow for expansion.
Once the underlayment is in place, secure it to the subfloor using staples or adhesive. Make sure the underlayment is flat and smooth, with no bumps or wrinkles. If there are any gaps between the underlayment pieces, use a strip of tape to seal them.
After the underlayment is installed, you are ready to lay the laminate flooring. Follow the manufacturer’s instructions carefully to ensure a successful installation.
Cutting Laminate Flooring

When it comes to cutting laminate flooring, accuracy is key. One of the most important tools for this task is a circular saw with a fine-toothed blade. A jigsaw can also be used for cutting curves or making intricate cuts.
To ensure a smooth and straight cut, it is important to mark the laminate flooring accurately. This can be done by using a straight edge and a pencil to mark the line where the cut needs to be made. It is also important to measure twice before making any cuts to ensure that the measurements are correct.
When cutting laminate flooring, it is important to wear protective gear, such as safety glasses and ear protection. This is because the saw can produce a lot of noise and sawdust, which can be harmful to the eyes and ears.
It is also important to use the correct blade for cutting laminate flooring. A fine-toothed blade will produce a clean and accurate cut, while a coarse blade can cause the laminate to chip or splinter. By following these tips, anyone can successfully cut and install laminate flooring in their hallway.
Installing the First Row
When laying laminate flooring in a hallway, it is important to start with the first row. The first row sets the foundation for the rest of the flooring. Here are some steps to follow when installing the first row of laminate flooring:
Aligning Planks
To ensure a straight and even first row, it is important to align the planks properly. Start by measuring the width of the hallway and dividing it by the width of the planks. This will give you the number of planks needed for the first row. Cut the planks to the appropriate length using a saw.
Next, lay the planks out on the floor in the order they will be installed. Make sure the tongue side of each plank is facing the wall. Use spacers to create a 1/4 inch gap between the planks and the wall. This gap will allow for expansion and contraction of the flooring.
Securing Planks
Once the planks are aligned, it’s time to secure them to the subfloor. Apply a bead of glue to the tongue side of the first plank. Press the plank firmly into place, making sure it is flush with the spacers and the wall. Use a tapping block and a hammer to tap the plank into place.
Repeat this process with the remaining planks in the first row. Be sure to stagger the end joints of the planks to create a more natural look. Use a pull bar to secure the planks together, making sure they are tight and flush.
In conclusion, installing the first row of laminate flooring in a hallway is an important step in the process. By aligning the planks properly and securing them to the subfloor, you can create a strong foundation for the rest of the flooring.
Expansion Gaps and Spacers
When laying laminate flooring in a hallway, it is essential to leave an expansion gap around the perimeter of the room. This gap allows the floor to expand and contract with changes in temperature and humidity, preventing buckling and warping.
To achieve the correct size of the expansion gap, spacers should be used. These spacers should be placed between each plank and the wall to provide the required expansion space. Spacers will also help ensure that the gap size is consistent throughout your installation.
Experts recommend a minimum of 8 – 10 inches for the expansion gap. However, the right size depends on the size of the surface being covered. The size of the gap can be determined by measuring the width of the room and dividing it by the number of planks being used.
It is important to note that the expansion gap should not be covered with any trim or molding. The gap should be left exposed to allow for proper expansion and contraction of the flooring.
In summary, when laying laminate flooring in a hallway, it is important to use spacers to achieve the correct size of the expansion gap. The size of the gap should be determined by the size of the surface being covered, and should not be covered with any trim or molding.
Working Around Obstacles

When laying laminate flooring in a hallway, there may be obstacles such as door frames, pipes, and columns that need to be worked around. Here are some tips to help navigate these obstacles.
Cutting for Door Frames
One common obstacle when laying laminate flooring in a hallway is door frames. To work around them, it is necessary to cut the laminate planks to fit the shape of the frame. This can be done using a jigsaw or handsaw. It is important to measure the area accurately and to use a cutting guide to ensure a straight cut.
Navigating Pipes and Columns
Another obstacle that may be encountered when laying laminate flooring in a hallway is pipes and columns. To work around them, it is necessary to make precise cuts in the laminate planks. One approach is to use a hole saw to cut a hole in the plank to fit around the obstacle. Another approach is to use a coping saw to make intricate cuts to fit the shape of the obstacle.
It is important to take the time to measure and plan the cuts carefully to ensure a good fit around the obstacle. It is also important to use appropriate safety equipment, such as gloves and goggles, when using saws and other cutting tools.
Overall, with careful planning and precision cutting, it is possible to work around obstacles such as door frames, pipes, and columns when laying laminate flooring in a hallway.
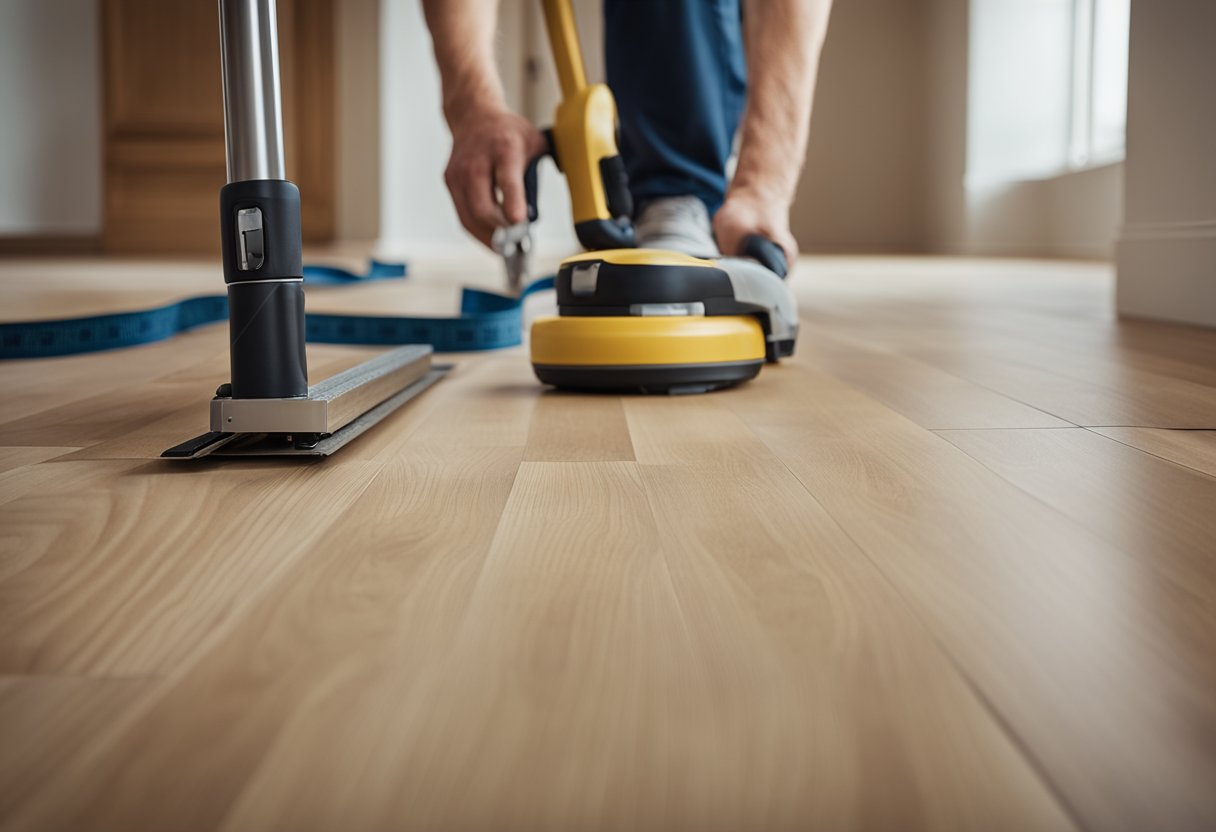
Laying the Remaining Rows
After installing the first row of laminate flooring, it is time to lay the remaining rows. This section will cover the locking mechanisms and staggering the planks.
Locking Mechanisms
Most laminate flooring comes with a locking mechanism that allows the planks to snap together. It is important to make sure the planks are locked tightly together to prevent gaps between the planks.
To lock the planks together, angle the plank into the previous row and push down. You should hear a click when the plank is locked in place. Repeat this process for the remaining planks in the row.
Staggering the Planks
Staggering the planks means that the end joints of adjacent planks are not in the same line. This creates a more natural look and makes the floor stronger.
To stagger the planks, start the second row with a plank that is at least 12 inches long. Cut the last plank of the first row to the desired length and use it to start the third row. Continue this pattern for the remaining rows.
It is also important to make sure that the end joints of adjacent rows are at least 6 inches apart. This will create a more natural look and make the floor stronger.
In conclusion, locking the planks together and staggering the planks are important steps in laying laminate flooring in a hallway. By following these steps, you can create a beautiful and durable floor that will last for years to come.
Finishing Touches
Installing Baseboards
After installing the laminate flooring in the hallway, the next step is to install baseboards. Baseboards are important because they cover the gap between the floor and the wall, giving the floor a finished look. To install baseboards, measure the length of each wall and cut the baseboards to the appropriate length. Then, use a nail gun or hammer and nails to attach the baseboards to the wall.
Transition Strips
Transition strips are used to cover the gap between the laminate flooring and other types of flooring, such as carpet or tile. There are different types of transition strips available, including T-molding, reducer, and threshold. To install a transition strip, measure the length of the gap and cut the strip to the appropriate length. Then, use adhesive or screws to attach the strip to the floor.
Overall, installing baseboards and transition strips is an important part of finishing the installation of laminate flooring in a hallway. It gives the floor a professional, polished look and helps to protect the edges of the flooring.
Maintenance and Care Tips
Laminate flooring is a durable and low-maintenance option for your hallway. Here are some tips to keep your laminate flooring looking its best.
- Regular sweeping or vacuuming with a soft bristle brush attachment can help remove dirt and debris that can scratch the surface of the laminate flooring.
- Damp mop the flooring with a microfiber mop and a mild cleaning solution. Avoid using excessive water, as water can seep into the seams and cause damage over time.
- Wipe up any spills or stains immediately to prevent them from setting in. Use a damp cloth and a mild cleaning solution to clean up spills.
- Place floor mats at the entryways to your hallway to catch dirt and debris before it can be tracked onto your laminate flooring.
- Use furniture pads under the legs of your furniture to prevent scratches and dents on your laminate flooring.
- Avoid using abrasive cleaners, steel wool, or scouring pads on your laminate flooring, as they can scratch and damage the surface.
- If you have pets, keep their nails trimmed to prevent scratches on the laminate flooring.
By following these simple maintenance and care tips, you can keep your laminate flooring looking beautiful for years to come.
Frequently Asked Questions
What is the best direction to lay laminate flooring in a hallway?
The best direction to lay laminate flooring in a hallway is parallel to the longest wall. This creates a visual effect that makes the hallway appear longer. However, if there are other rooms connected to the hallway, it is recommended to lay the flooring perpendicular to the entrance of the room.
Can you change the direction of laminate flooring between different rooms?
Yes, it is possible to change the direction of laminate flooring between different rooms. However, it is important to make sure that the transition between the two directions is done smoothly and without abrupt changes. A good way to achieve this is by using a transition strip.
Where should you start laying laminate flooring in a multi-room project?
When starting a multi-room laminate flooring project, it is best to start from the room with the longest, straightest wall. This ensures that the flooring is laid straight, and any cuts that need to be made are minimal. It is also recommended to work towards the doorway of each room, as this creates a natural stopping point for each section.
Are there specific staggering patterns necessary for laminate flooring in hallways?
Yes, it is important to use a specific staggering pattern when laying laminate flooring in hallways. This is to prevent the seams from lining up, which can weaken the floor and cause it to buckle. A common pattern is to stagger the planks by at least 6 inches, making sure that no two adjacent rows have end joints that line up.
What are the common errors to avoid when installing laminate flooring?
Common errors to avoid when installing laminate flooring include not acclimating the flooring to the room’s temperature and humidity, not preparing the subfloor properly, and not leaving enough expansion space around the edges of the room. It is also important to use the correct tools and follow the manufacturer’s instructions carefully.
Is it possible to begin laying laminate flooring from the center of a room?
It is possible to begin laying laminate flooring from the center of a room, but it is not recommended. This method can make it difficult to achieve a straight, even layout, and it can also result in awkward cuts around the edges of the room. It is best to start from one corner of the room and work outward, following the manufacturer’s recommended installation method.