Cutting laminate flooring is a task that requires precision and the right set of tools. Choosing the best tools for cutting laminate can ensure a smooth installation and an attractive finish. It’s essential to select a saw and blade that can handle the material without chipping or damage, keeping the aesthetics of your flooring intact.
To prevent damage during cutting, it’s crucial to use techniques that account for the laminate’s composition. Measuring and marking accurately are fundamental steps to ensure each piece fits perfectly. Knowledge of the different types of saws and blades, as well as the appropriate cutting methods, can greatly affect the quality of the installation.
Safety should never be overlooked when cutting laminate flooring. Wearing goggles, a mask, and gloves is imperative to protect oneself from particulates and potential hazards. By following safety precautions and using the correct tools and accessories, DIY flooring projects can be carried out efficiently and safely.
Key Takeaways
- Selecting appropriate saws and blades is critical for a clean cut.
- Proper measuring, marking, and cutting techniques are essential for installation.
- Safety precautions are a must when handling tools and materials.
Understanding Laminate Flooring
Laminate flooring is a popular, multi-layer synthetic flooring product. It simulates wood (or sometimes stone) with a photographic applique layer under a clear protective layer. The inner core layer is typically composed of melamine resin and fiberboard materials.
The durability of laminate flooring is one of its most significant benefits. It’s designed to resist scratches, dents, and fading, making it ideal for high-traffic areas. Laminate flooring’s wear layer helps it withstand heavy use and contributes to its longevity.
Unlike traditional wood flooring, laminate is easier to install and maintain. It often comes with interlocking pieces that can be snapped together without glue or nails. This floating installation method allows for expansion and contraction due to changes in humidity.
Vinyl and engineered flooring are often compared to laminate. Vinyl is fully synthetic and can offer better moisture resistance, while engineered flooring features a thin veneer of real wood atop layered plywood or hardwood. Both have different aesthetic and functional qualities compared to laminate.
Laminate’s price-to-performance ratio sets it apart in the flooring market. It offers the look of more expensive wood or stone floors at a more budget-friendly price point. Thus, it provides a cost-effective solution for those seeking a stylish yet affordable flooring option.
Types of Saws and Blades
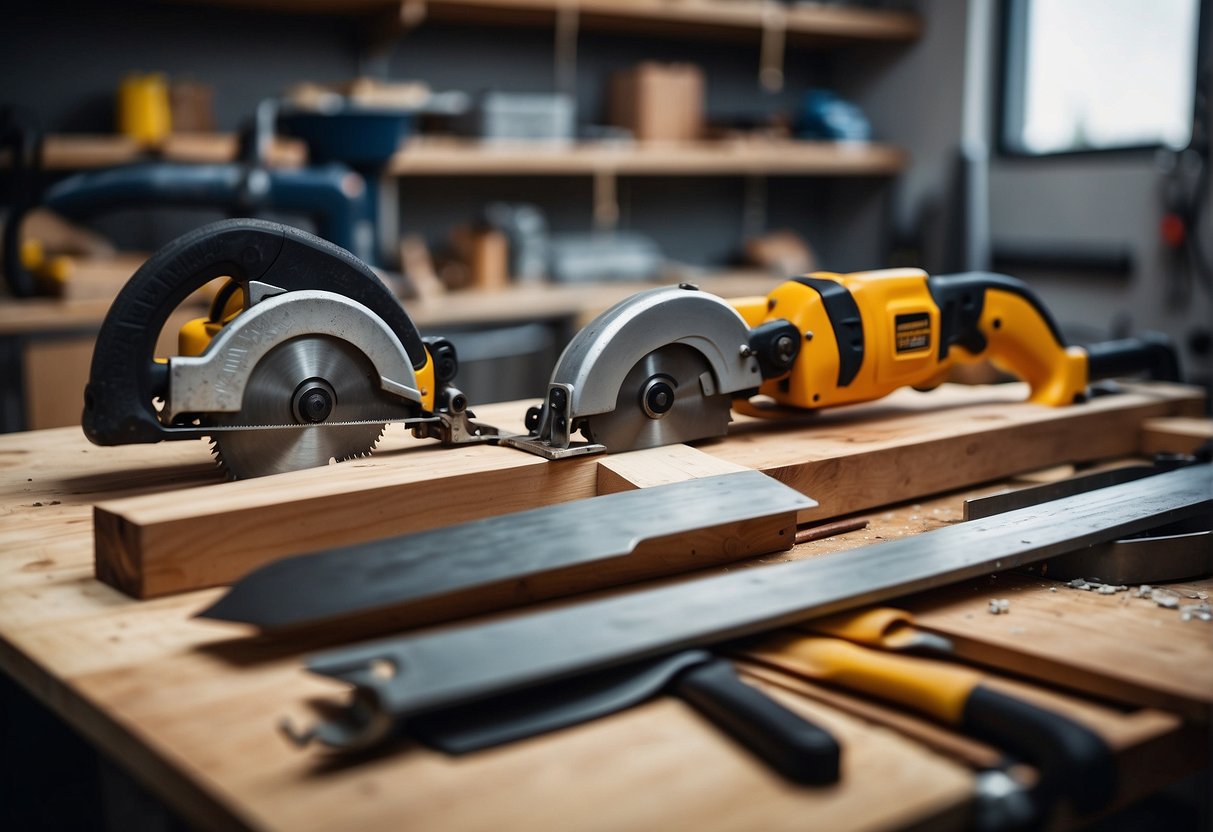
Choosing the right tool for cutting laminate flooring is crucial for both precision and ease. Different types of saws and blades are designed to handle various cuts required in laminate flooring installation.
Miter Saw for Precise Cuts
Miter saws are ideal for making accurate crosscuts and angled cuts. They should be equipped with a high-quality blade, such as a 10″ x 80T Thin Kerf blade for ultra-fine finishes on laminate materials. A good miter saw can deliver precise cuts that are essential for the corners and edges of a flooring layout.
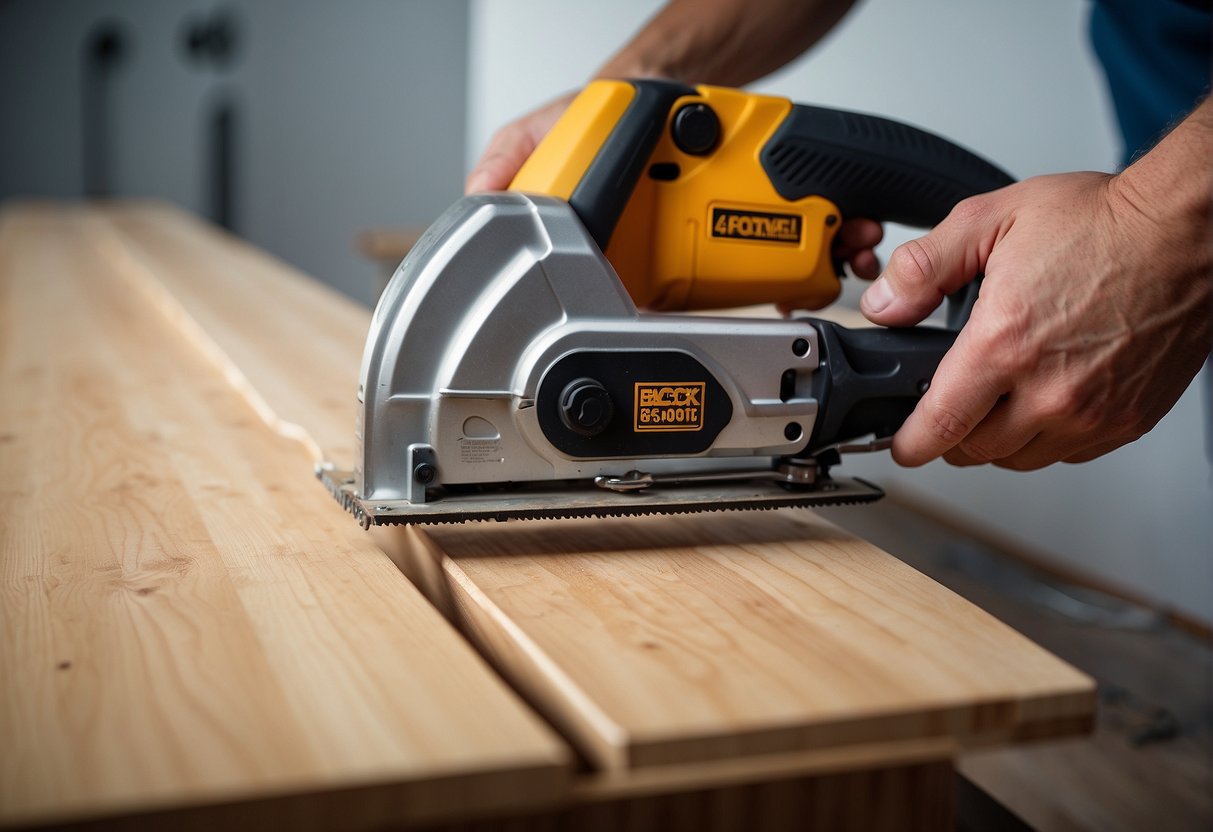
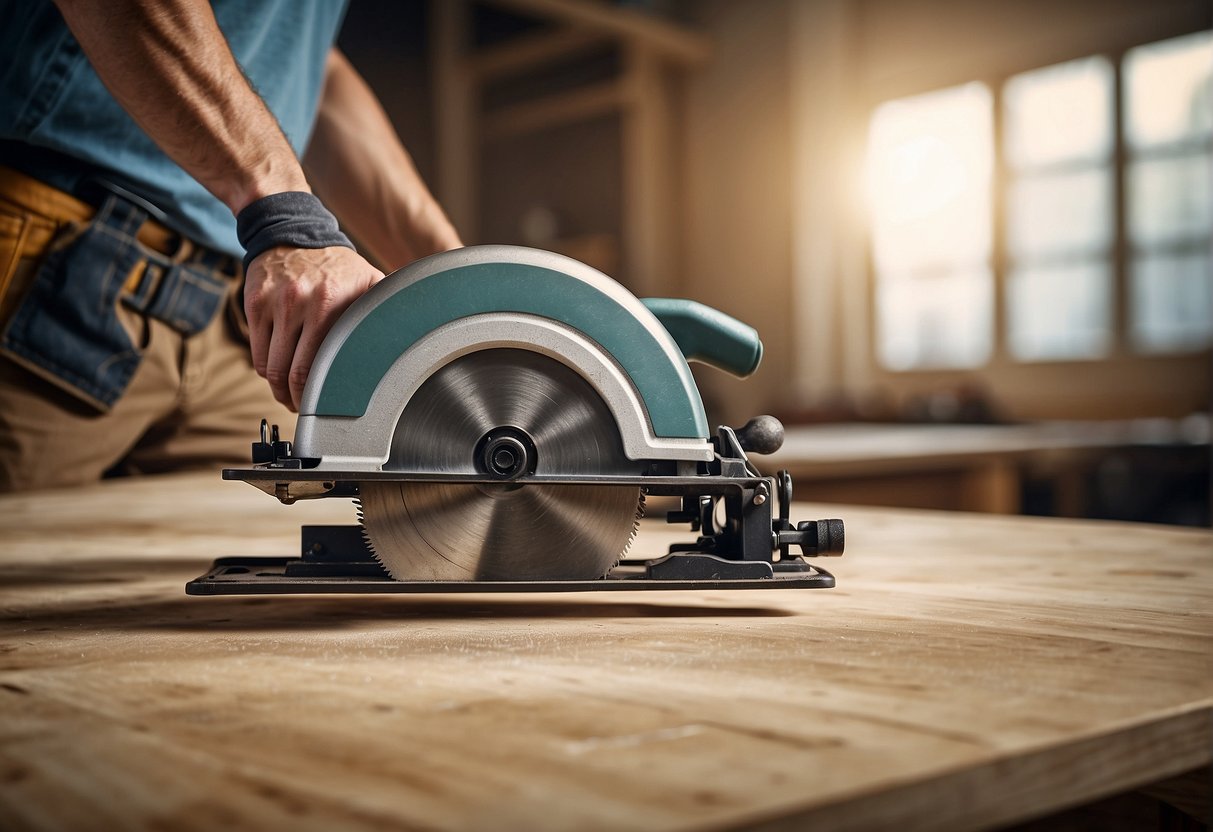
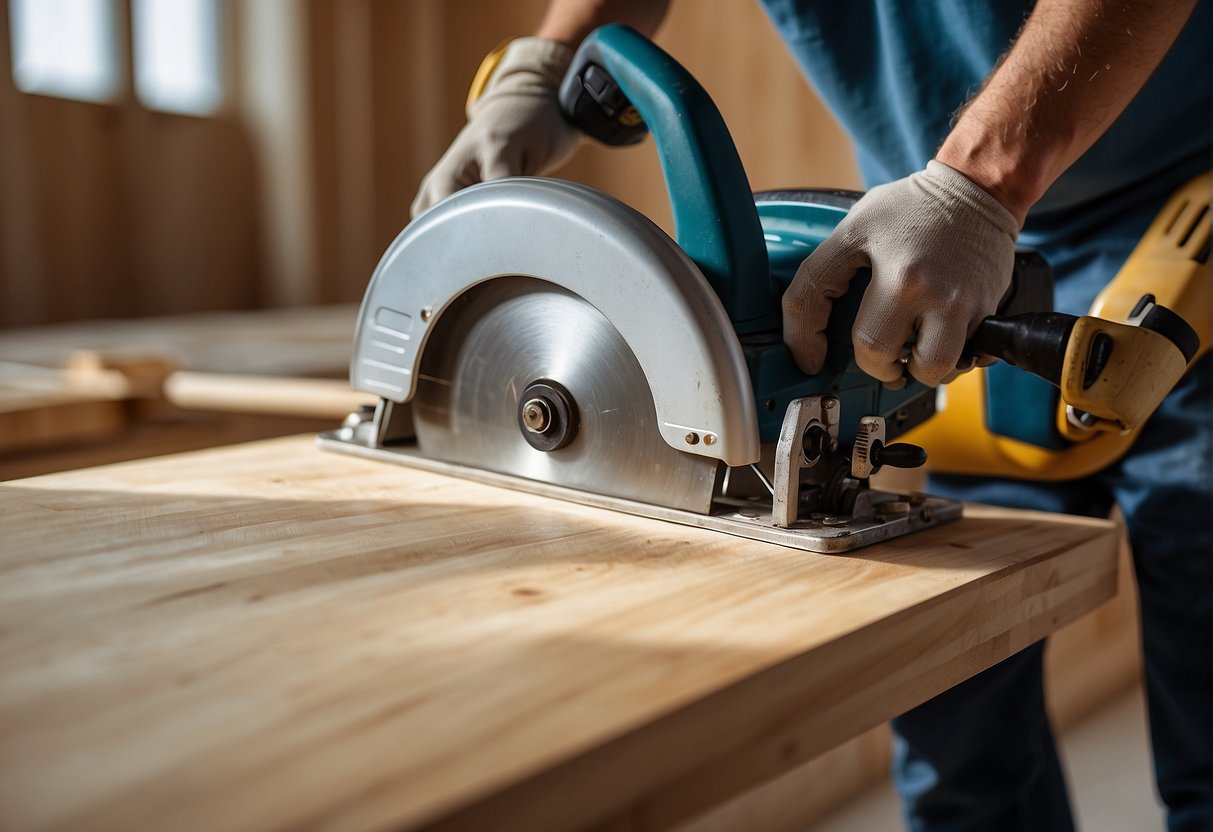
Circular Saw for Straight Cuts
For quick and straight cuts across laminate planks, a circular saw is recommended. One should choose a saw blade with a thin kerf to reduce material wastage and ensure a clean cut, like the Bosch T503 3-Piece Hardwood/Laminate Flooring T-Shank blade set. Keeping extra blades on hand ensures quick replacement in case of wear, maintaining efficiency during large projects.
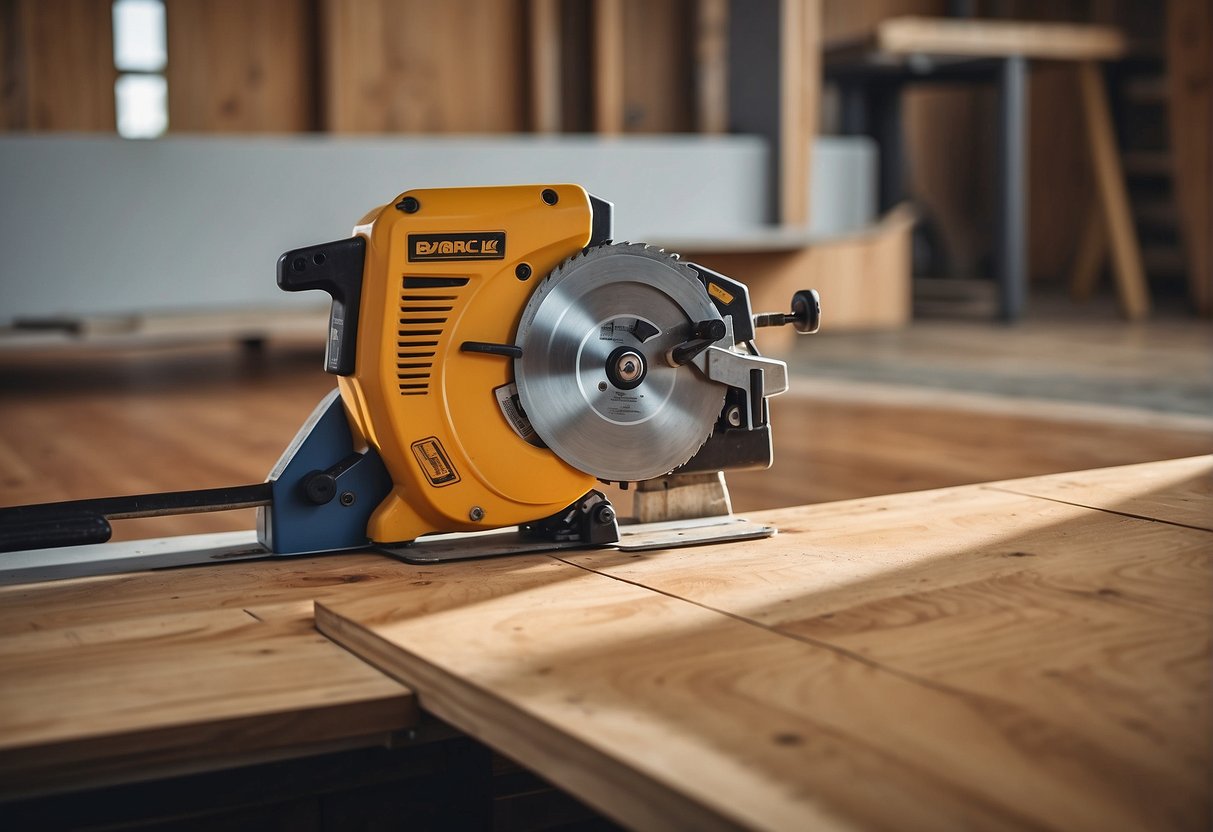
Table Saw for Long Rip Cuts
A table saw excels at long, straight rip cuts along the length of laminate planks. It is essential to use a suitable blade to maintain accuracy and minimize chipping. The blade’s arbor size must match your saw to ensure a secure fit, ensuring safety and precision during the cutting process.
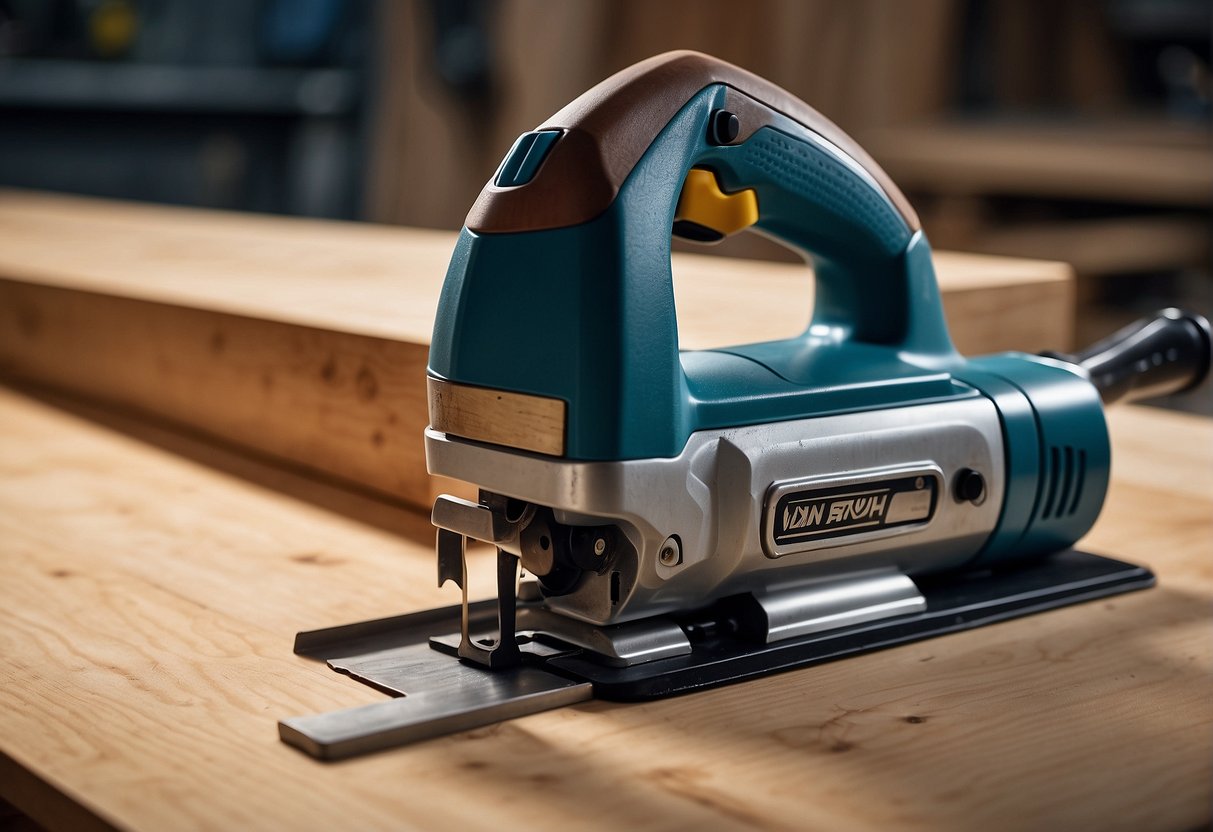
Jigsaw for Curves and Notches
When it comes to intricate cuts, such as curves or notches around obstacles, a jigsaw is the tool of choice. Its small and narrow blades provide the ability to navigate tight spots and complex shapes with detailed control, allowing for customization in the flooring design. For best results, employ a blade designed for laminate, which can cut through the material cleanly without causing splintering.
Preventing Damage During Cutting
When cutting laminate flooring, the primary concerns are to avoid chipping and ensure clean cuts. The proper techniques and tools can reduce damage, resulting in a more professional finish.
Minimize Chipping
To minimize chipping, one must mark the laminate plank carefully before cutting. Users should place the laminate panel with the decorative side facing down if using a circular saw or facing up when using a jigsaw. A steady hand and a gradual feed rate allow the saw to cut without causing splinters or chips.
Using the Right Blade
The choice of blade is crucial to prevent chipping and achieve clean cuts. A carbide tooth blade is recommended due to its sharp, durable edge that cuts through laminate smoothly. Blades designed specifically for laminate flooring, such as those made by Diablo, reduce the potential for damage while cutting.
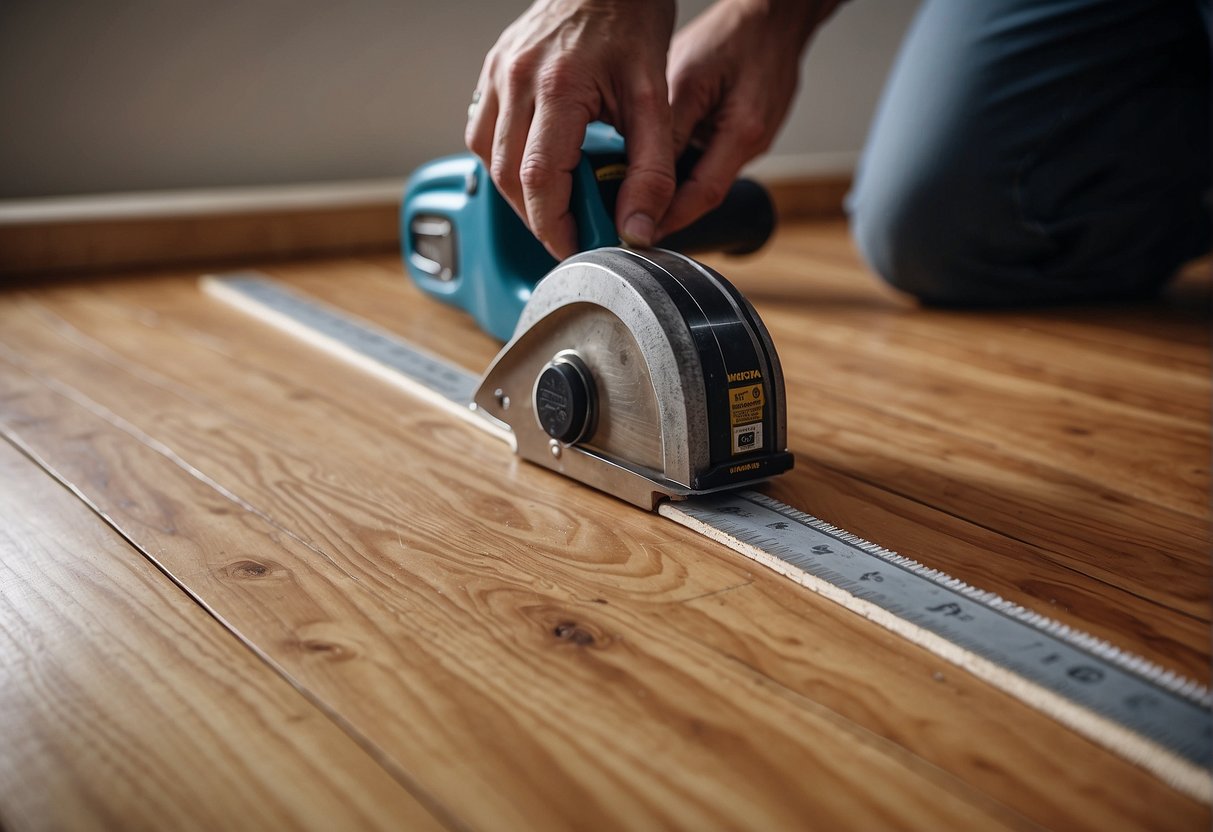
Measuring and Marking
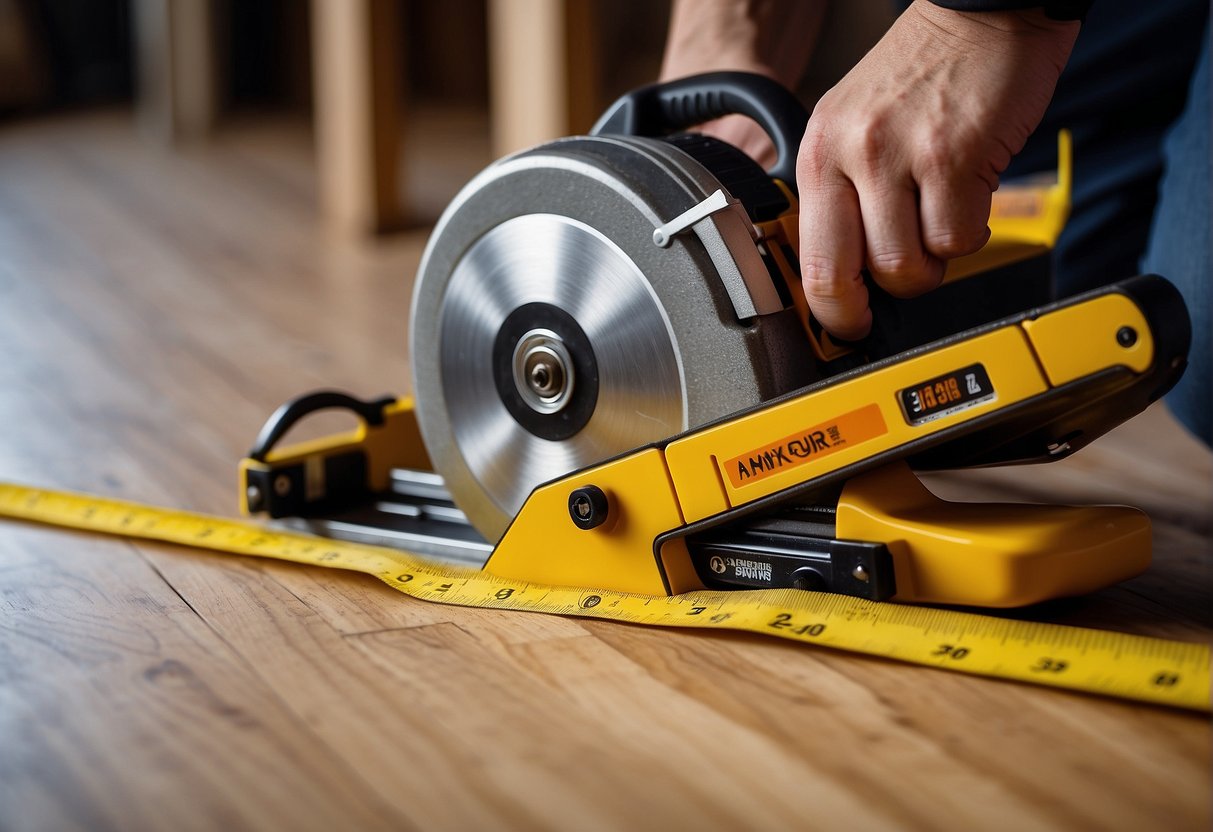
When installing laminate flooring, precision is crucial in the measuring and marking phase to ensure a flawless fit. The use of a tape measure and pencil is essential for accuracy. This section will guide you through the process of using these tools effectively.
Using Tape Measure
A tape measure is used to determine the length and width where the laminate will be laid. It is important to measure twice to confirm accuracy before making any cuts. One should ensure the tape measure is level and straight for a precise reading.
Marking with a Pencil
After measuring, the next step is to mark the laminate plank. A pencil is ideal for marking because it is precise and easily visible on the laminate. The marks should indicate where cuts are to be made and should be aligned with the tape measure for accuracy.
Cutting Techniques
Proper cutting techniques are essential for a flawless installation of laminate flooring. They ensure seams fit cleanly and borders look precise. Different cuts are suitable for various aspects of the flooring layout.
Making Straight Cuts
Straight cuts are fundamental for the bulk of laminate flooring installation. To achieve clean straight cuts, one needs a simple utility knife and a straightedge. Laminate can be scored with the knife and then snapped along the line for a tidy edge.
Executing Angle Cuts
Angle cuts are required when working around corners or irregular objects. A jigsaw is the optimal tool for executing angle cuts with precision. When cutting at an angle, it’s important to measure and mark the plank accurately before cutting.
Creating Rip Cuts
Rip cuts are longitudinal cuts made to the planks to fit the floor’s final row. A table saw ensures the straightness and consistent width of these cuts. When making rip cuts, safety precautions like using push sticks to maintain a safe distance from the blade are imperative.
Installation Essentials
The quality of a laminate flooring installation can significantly impact its longevity and appearance. Proper preparation of the subfloor and precise cutting around obstacles are crucial steps in the process.
Preparing the Subfloor
Before laying laminate planks, one must ensure the subfloor is clean, dry, and level. Any debris or old flooring materials should be completely removed. If the subfloor is uneven, it may require sanding or the use of leveler products to create a flat surface for the flooring installation.
Installing Around Obstacles
When cutting laminate flooring to fit around pipes or plumbing, a drill with a spade bit is a precise tool for creating clean holes. It’s vital to measure the diameter of the obstruction and drill accordingly to ensure a snug fit without damage to the planks. For complex shapes or edges, a jigsaw is the preferred tool, offering control and flexibility for detailed cuts.
Trim and Finishing Touches
Once the primary cutting of laminate flooring is complete, attention to detail is crucial for a professional-looking finish. Proper trim and notching around corners are essential to accommodate baseboards and obstructions. These steps ensure that furniture and other room features integrate seamlessly with the newly installed flooring.
Trimming Baseboards
When installing laminate flooring, one often needs to trim the baseboards to allow the edge of the flooring to fit neatly underneath. Cutting the baseboard at a 45-degree angle allows for a tighter seam and a cleaner look. A coping saw or an oscillating multi-tool can be utilized to make precise cuts, ensuring that the baseboard sits flush against the floor and the wall.
Notching Around Corners
Occasionally, a laminate plank must be shaped to fit around corners or irregular edges, which requires notching. This involves making a template of the corner shape, then transferring the outline to the plank for cutting. A jigsaw is ideal for cutting out these notches, providing a precise fit that accommodates corners and transitions smoothly beneath trim or furniture.
Tools and Accessories
Choosing the right tools is crucial for cutting laminate flooring precisely and efficiently. For both novice and experienced users, understanding the distinction between manual and power cutting tools is fundamental. Alongside the cutting instruments, certain essential accessories are necessary to secure the laminate planks and assist in a flawless installation.
Manual vs Power Tools
Manual tools are economical and work well for smaller projects where precision and control are needed. They include simple tools like a handsaw or a utility knife, which can suffice for cutting laminate flooring. Power tools, on the other hand, offer speed and ease, with options like a circular saw, jigsaw, or multi-tool, which are ideal for larger projects requiring numerous cuts.
Essential Accessories
When laying laminate flooring, accessories like a tapping block or a pull bar are essential to properly fit planks together without causing damage. Clamps help to secure planks as they are being cut, ensuring precise work. A drill, although not used for cutting, is often needed for installations to secure transition strips or trim.
Safety Precautions
When undertaking a DIY project involving cutting laminate flooring, homeowners and contractors alike should prioritize safety. Personal protective equipment (PPE) is essential; this includes safety goggles to protect the eyes from flying debris and dust masks or respirators to prevent inhalation of harmful particles. Additionally, wearing ear protection can prevent hearing damage due to the loud noise from power cutting tools.
It is important to ensure all cutting tools are properly maintained and secure before starting any cutting operation. Blades should be sharp and free from damage, as a dull blade can cause kickback, which may lead to accidents. Securing the laminate material with clamps or a vise can prevent it from shifting during the cut, further minimizing the risk of mishaps.
For maximum safety, one should always follow the manufacturer’s guidelines for using laminate cutting tools. This includes knowing how to safely operate a laminate floor cutter, jigsaw, or table saw. Thorough knowledge of the tool’s functions and features allows for a safer and more controlled cutting experience.
Tips for DIY Flooring Projects
When undertaking a DIY flooring project, homeowners should first ensure they have the proper tools. A miter saw is ideal for making straight cuts or angles with precision. Additionally, a jigsaw is versatile for intricate cuts, while a laminate floor cutter can be a fast option for straight cuts.
Proper measurement and calculation of the area are vital to reduce waste and ensure adequate material purchase. Homeowners should measure the square footage carefully and add an extra 10% for waste and mistakes. Learning how to calculate the flooring needed will make the DIY project more affordable and efficient.
Adequate preparation of the subfloor is necessary to ensure a smooth installation. The subfloor must be clean, level, and dry to prevent issues with the laminate flooring. They should also let new flooring acclimatize to the home’s temperature and humidity before installation.
It is crucial to follow the manufacturer’s instructions closely. Each product may have specific requirements for installation to maintain the warranty and ensure longevity. Homeowners should not shy away from seeking help or watching tutorials for their specific flooring brand.
Attention to detail can make or break a DIY flooring project. Homeowners should take their time with cutting and laying out the planks to avoid unsightly gaps or patterns. Proper planning and patience often result in a more professional-looking finish.
Maintenance and Care

Maintaining laminate floors requires routine care to ensure longevity and aesthetic appeal. Regular cleaning with appropriate tools prevents debris from scratching the surface, which is crucial to maintain the clean cuts created during installation. Manufacturers often provide specific guidelines on how to best care for their flooring, which should be followed meticulously.
To avoid damage, one should never use abrasive cleaners or tools on laminate flooring. It is recommended to use a soft-bristle broom or a vacuum with a hard floor attachment to remove loose dirt. For a deeper clean, damp mopping with a mild detergent is suggested, but excess water must be avoided.
Storing cutting tools properly in a garage or workspace helps prevent accidental damage to the blades and flooring. Blades should be kept sharp to ensure precise cuts, which minimizes chipping and peeling of the laminate. It’s essential to adhere to the maintenance schedule recommended by the manufacturer to prolong the floor’s life.
Frequently Asked Questions
This section addresses common inquiries about cutting laminate flooring, focusing on methods to reduce chipping, best practices for pre-installed flooring cuts, and the use of specific tools for a pristine edge.
How can I cut laminate flooring without chipping it?
To minimize chipping, one should use a fine-toothed saw blade and ensure the laminate’s decorative side faces down when using a circular saw. When using a jigsaw or a handsaw, the decorative side should face up to keep the cut edge clean.
What’s the best way to cut laminate flooring that’s already been installed?
For flooring that’s already in place, a jigsaw or an oscillating tool is most effective. These allow for precision and can navigate through the laminate, even in tight spaces or intricate shapes.
Can a utility knife be effectively used to cut laminate flooring?
A utility knife can score the surface of the laminate flooring, allowing for a cleaner break along the score line. While not ideal for cutting through the entire plank, it’s proficient for making quick cuts or snapping smaller sections.
How do you achieve a clean cut on laminate flooring?
To achieve a clean cut on laminate flooring, measure accurately and use the appropriate tool. A table saw provides precise straight cuts, whereas a jigsaw is better suited for curved or angular cuts, combined with a suitable cutting blade.
What is the ideal saw blade type for cutting laminate flooring?
Blades specifically designed for laminate flooring, with diamond or carbide tips, are ideal. They have a higher tooth count, which helps in achieving smoother cuts without damaging the material.
What method is recommended for cutting laminate flooring lengthwise?
For cutting laminate planks lengthwise, also known as rip cuts, a table saw or circular saw is recommended. Using a guide or fence ensures a straight cut along the length of the plank.